Showing posts with label floor. Show all posts

Monday, July 23, 2012

My new office.
before and almost after. 

Things done:
- foam wall paper border removed
- carpet and underlay removed, staples and nails removed
- walls painted, trim painted
- furniture removed
- blinds removed


Still needs:
- another coat of paint on the window sill
- base board quarter round trim
- new light fixture.
- ceiling painted
- patio door replaced
- frost window and install blackout shade

Details:
walls: Benjamin Moore Aura paint simply white in semi-glass (for durability). The expensive paint and glossiness covered deep burgundy in two coats!

trim: Benjamin Moore simple white in gloss

floor: refinished original wood, with minwax oil based (smelly) stain, 4 coats

Tuesday, February 7, 2012

bathroom floor is progressing

Bathroom floor update:

after the electrical inspector from ESA left, the radiant heat wires were covered with cement.
Here's what it looks like in the hallway.

Friday 5pm

It takes 24 hours to dry.


 Here it is 24 hours later, Sat. around 5pm.
Not dry.
 So a bright painting light was applied throughout Sat. night and throughout Sunday and Sunday night to use the heat to dry the floor.

Sunday's plan to begin tiling the bathroom floor was disbanded.


 But in the area that was mostly dry, we put down the testing strips for the pattern.

diagonal vs. length-wise.

It was determined that running it perpendicular to the hallway would make it seem narrow and the diagonal was too modern for the house (remember 1919) . also the length-wise layout matches the wood layout in the rest of the house.

Do you agree?


So what happened on Monday - the room had tiling lines places, and the cement dried. A new trowel was also purchased.


Tuesday the tiling finally began.


Thursday, February 2, 2012

The Wires that bind you

Today the radiant heat flooring system, Part 1 was installed.

I'm still in a naturopath assigned detox diet, so I'm cranky. This did not bode well.


In any case, Dad and I installed the sucker.

Here are the steps:
1a. vacuumed the floor
1b. sponged down the floor


2. learn how to use a multi-meter to check resistance. Spend 15 min. on youtube watching a video.


3. install the lead from the wire to the thermostat holding area in the wall


4. measure 2" out from the walls and 1" out for objects (and potential future objects). measure 6" out from the toilet. I used orange highlighter for giggles.

doesn't that shadow on the wall look like a nose?


5. begin layout out the wire at 4" increments. have a rule close by to double check your spacing.


6. realize there are some weird spots and try laying it out a different way.


7. run out of cable too early and remove 1/2 of it, to the doorway and start again.

8. finish it and take a break. a well earned break.

9. have someone who owns a meg-ohm-meter test the cable to make sure it's still intact.

note: the spacers that are not screwed down are placed there for stabilizing the wires tomorrow. We ran out of screws and were tired of crouching and balancing over wires.


Friday Feb 3 Update: dad screwed down the rest of the wire holders today. The installation passed ESA inspection and it was covered with mortar. Now it sits for 24hours and hardens and dries.

ETA: It is now Sunday night and the floor was put in Friday afternoon, it is still not dry, so the heat is cranked and a heat lamp has been applied. 

Saturday, January 21, 2012

The Work Continues: slowly but surely

Removing the rotted out floor

lookin' out my back door


the holes in the floor are being fixed. 


sealing the door sill with foam

the floor is now fixed!

the floor is almost ready for the skim coat.

the floor stuff called "skim coat" is what makes it level over all the previous floor gunk

the hallway needed extra skimcoat, it was bumpy!


Next up is floor cement board, re-screwing down the 6" apart screws and the floor is done except for radiant floor installation and tile. (planks on a diagonal)

now the final planning for plumbing and electrical can go in.
Should there be lights over the bathtub and the vanity? on separate switches?
Where should the radiant floor go? How much? into the hallway?

If the rain shower head is centred over the non-sloped area of the tub,  how far away would the light be if it is centred on the ceiling?

The bathroom configuration has been changed twice,  think we will have to move in the vanity at least to make a final decision. eeeps!!!

Monday, January 16, 2012

The day after demolition

The day after demolition was a day of rest.

But here's what happened on Monday:


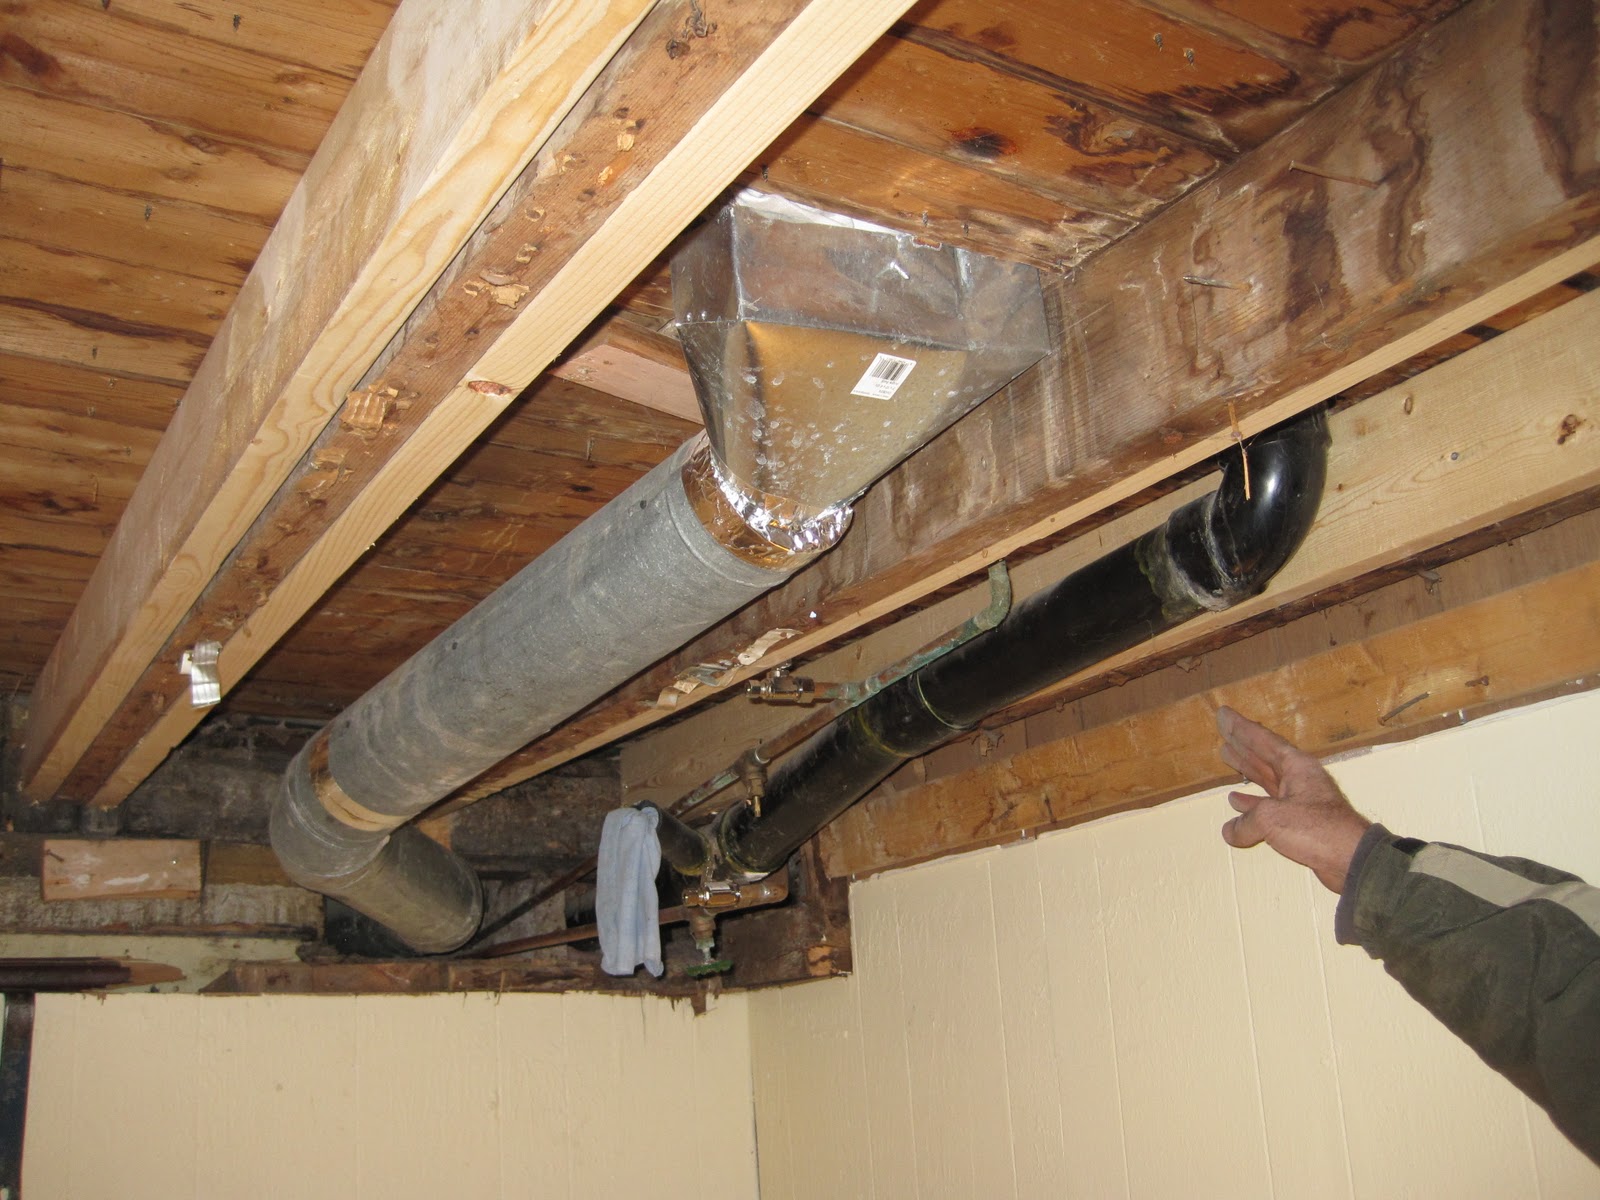
the floor joists, while not rotten or cut, are too thin to support the plank tile floor properly

these photos show the added beams to double up the joists.

see those sticking up screws? the previous floor was screwy.
 There were screws every 8" in sections of the bathroom and in the entire hallway. After dinner dad and I unscrewed the floor till he has to go and look up discount flights. I finished the job and vaccuumed. a lot. construction sites are dirty.

here's one floor they put down. it seems to be a plastic vinyl with a paper backing. look at all those bad screw holes.

this floor has texture and I haven't been able to easily rip it up. I kinda like it.

The Bathroom Demolition

The bathroom needed to be almost completely gutted. A crack team of bruisers was assembled :)

To prepare, the toilet was removed for safe keeping and the sink and vanity were removed and capped off.


i'm wearing double layers of everything. It's -10 out. brrr.

before we break out the safety glasses and dust masks. 

Peter is wisely avoiding the dust and carrying out shower wall bits.

Gerald is just a bit too gleeful. There is dust on my camera.


out come the heavy tools


smashy smashy!


the tub is coming out!

rub-a-dub-dub, three ladies in  a tub! 

hey! dad stole the camera!


the axe murderer from the basement has emerged


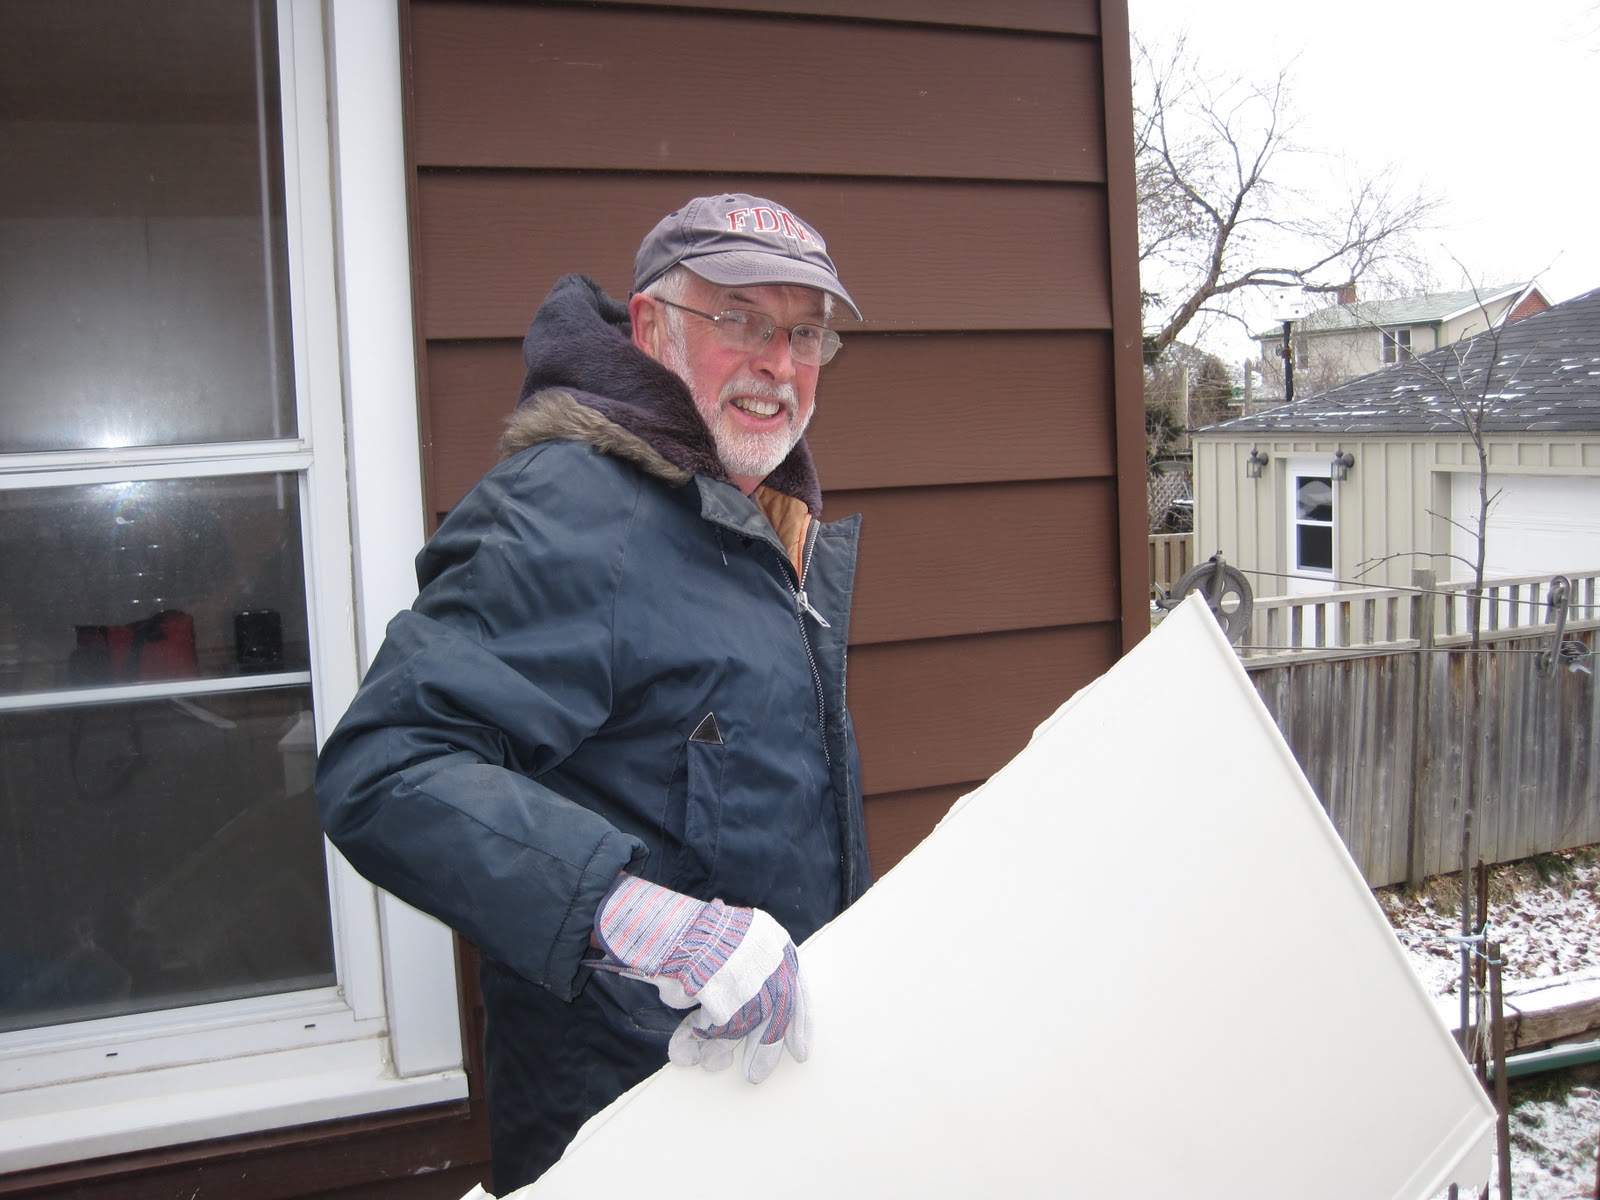
Two trailer loads, including one that was 800kg was removed.


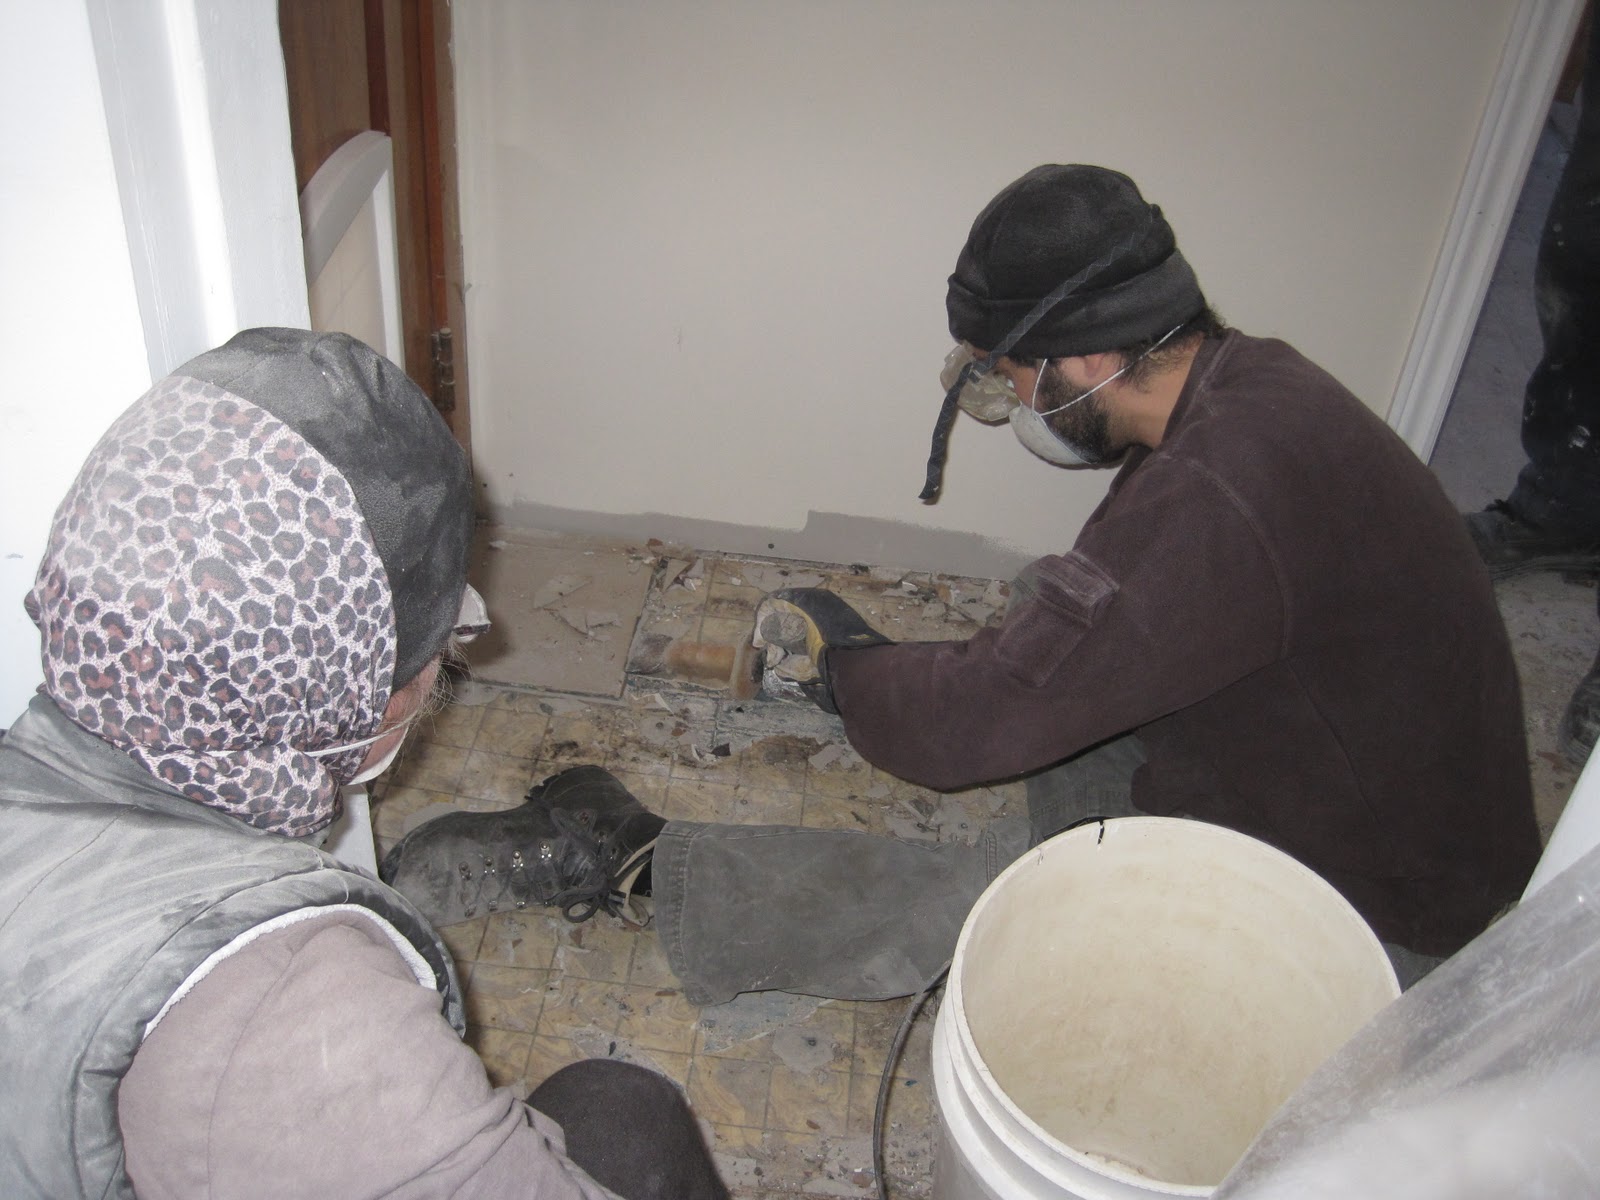
once the walls were down, the floors needed to come out.

the floor was very stuck on 

sledge hammer and stone chizel. yes. the right tools make all the difference. 
The sledge hammer head was from my grandpa, my dad added the axe handle for a better grip, and I used it to take up the floor. Awwww family heirlooms.


holy cow! It's empty!

yup, floor is gone too!
10am-2:30pm and it was done!