Showing posts with label tiling. Show all posts

Thursday, February 16, 2012

Bathroom details

alot of this renovation is fixing details that the previous owners may have overlooked.
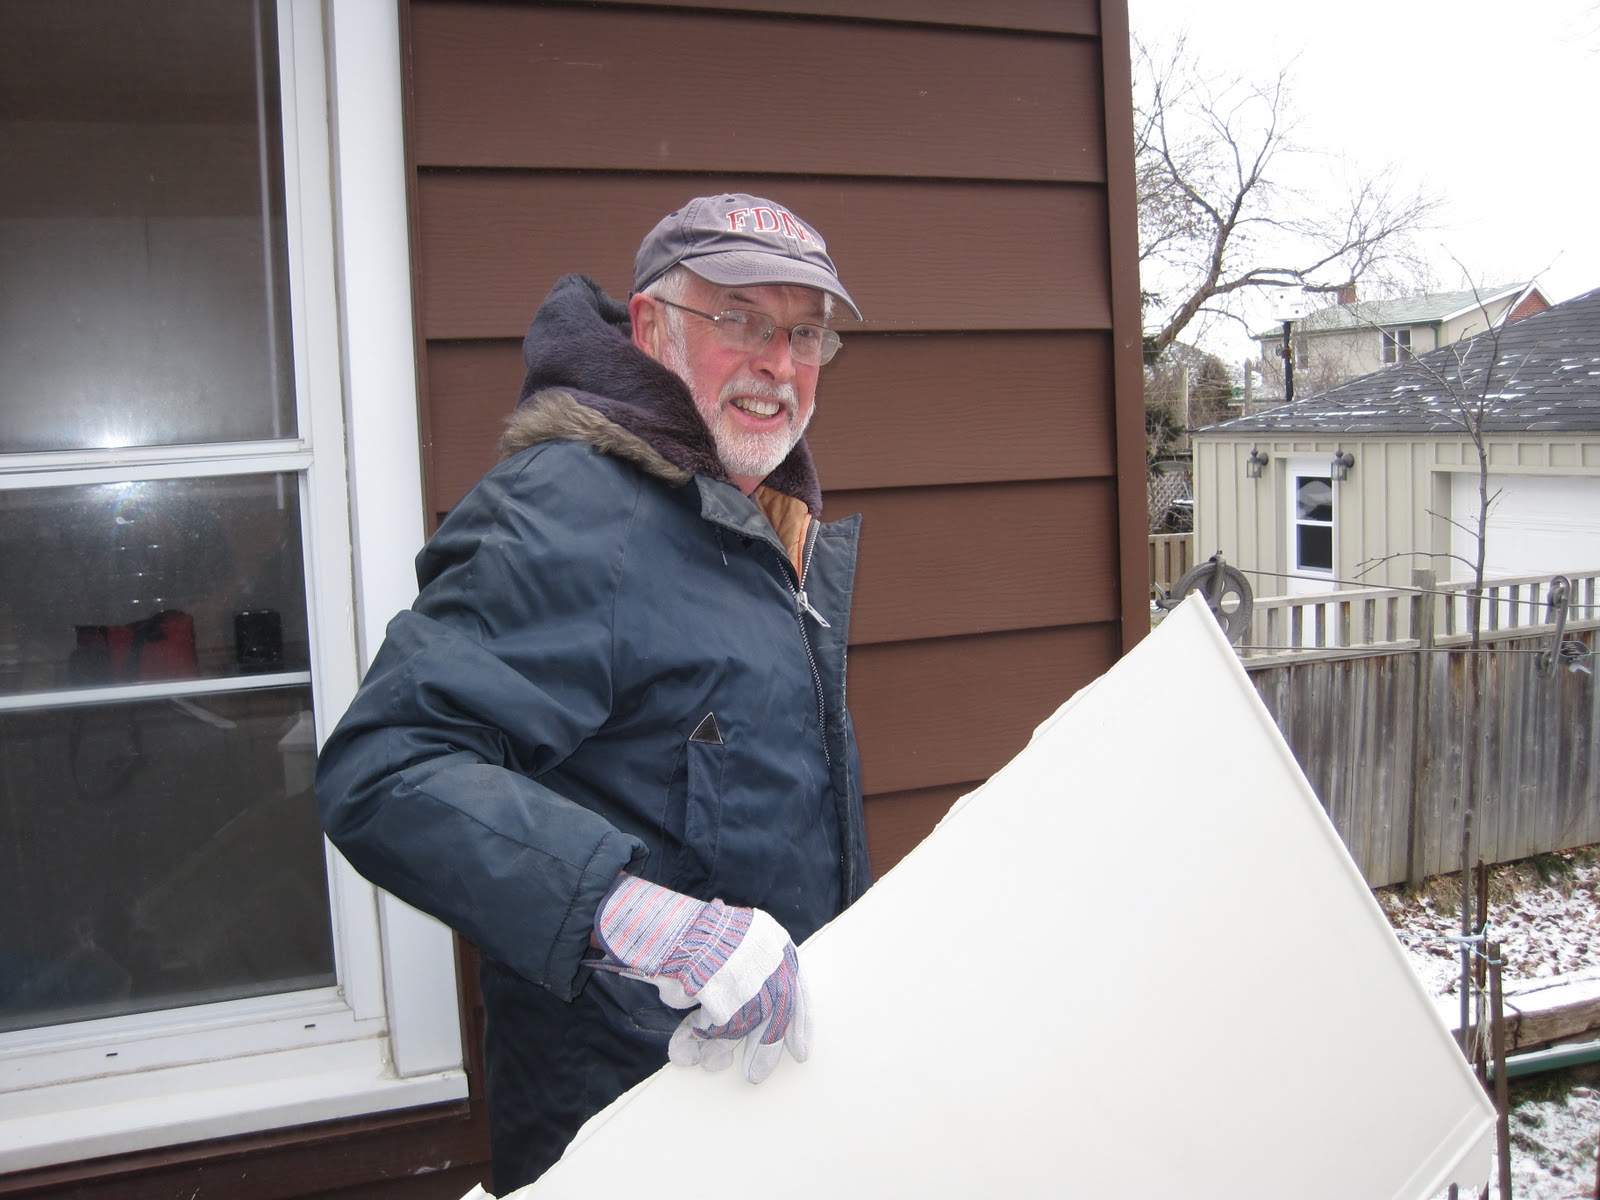
Today dad replaced the 1" thick door fame with a 3" door frame to match the rest in the house. He used fancy wood that's grooved at the back to avoid warping.


So now, when you look from the kitchen towards the bathroom, the door frames match.

I like that.

now the lights and the frames match throughout the kitchen and bathroom.

I really like that.

Also, the floor still looks good. yay.

 The window is now being framed in.
The old window had no frame, so the sill was only 1.5" wide. This is too narrow for a plant to sit on the window sill.

This is wrong, all windows should have the ability to have a plant on it. And all winds in the house have sills and frames, so I want them to be consistent.

Well, almost all the windows, the rest are on the list to be fixed, eventually.

The new bathroom window has a frame and a sill that is 3" wide.

The wood is also grooved to prevent warping and the front of the sill is straight and the back of the frame that touches the window,  is cut to accommodate the way the window was installed (crookedly).


There is also a detail where the tile is cut around the frame.
Like the frame has always been there. Nice.

The blank spot below the window is for the wood bottom of the sill.

Dad needs a planer to make that part and it is at his house, not at mine. It seems that the right equipment makes a good difference.


 This is the top line of tile. These "bullnose" tiles have a glazed white ceramic edge at the top.

So the edge will be glazed and finished, instead of just the side of a tile.

Trust me, it's fancy.

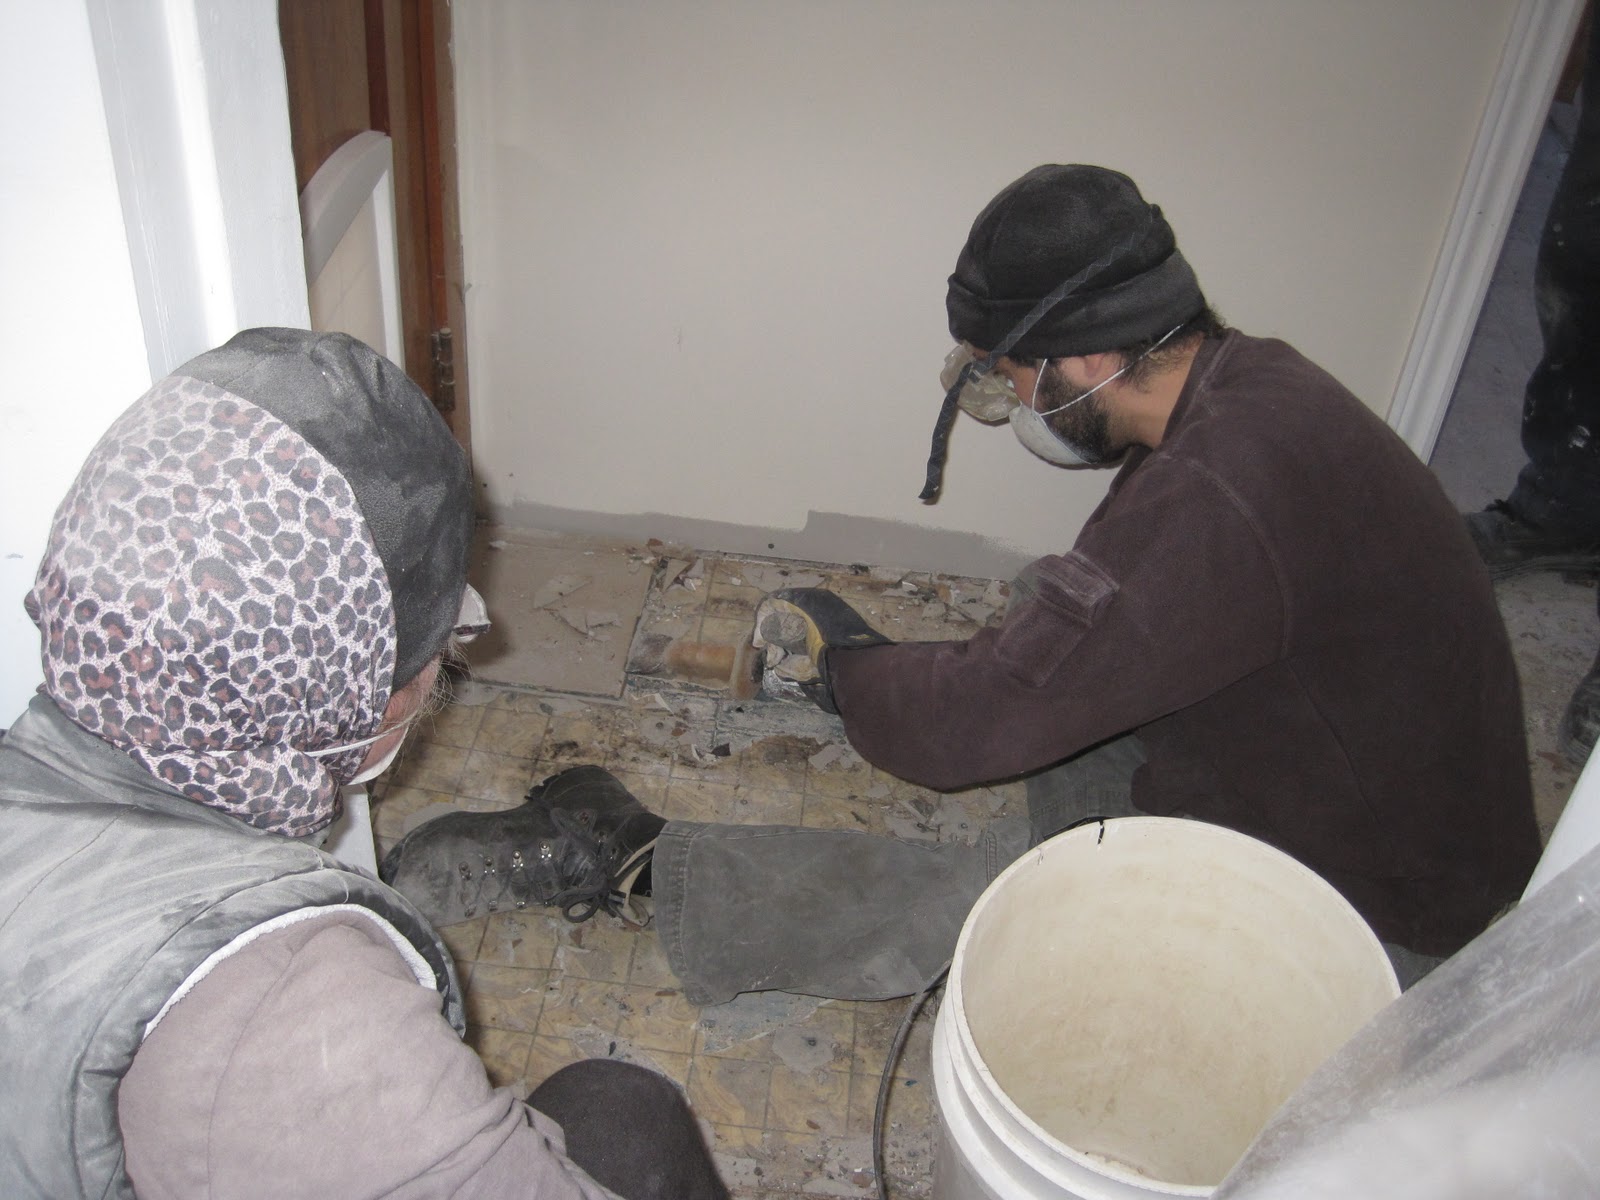
Why is Dad wiping his glasses?

It's because under that pail are the connections for the tub. While bending over to measure the wall and set the tile lines, the water line switch was opened and Dad  got hit in the face with water, which shot up to the ceiling.

That empty pail is now over the connections, so they won't get switched on.

Glad we used up the small container of tile glue first!

Luckily Dad had good humour about it!
After the fuss, we started the third wall.

The final wall is in the other post.


You might think that all I do is work, but I do have fun as well.

 Both Dad and I made wine this year. We both got wine from Magnotta. I got Festa red and Festa white to make. Today was the red taste test. Dad put his in a week after mine.

Dad mixed Festa red with granache juice.

His wine was smoother than mine and slightly darker in colour, but both were good.

Cheers!

The bathroom - in panorama & a question


The bathroom now needs another decision.

This panorama tries to show you the next question to be answered.

The back wall is tiled floor to ceiling.
The wall beside the window is tiled floor to ceiling.
The opposite wall is not, but should it be?
Should the two walls be symmetrical?


the bath tub would be closer to the back wall and the wall closest to the window, there will be a 20" gap between the other side wall and the tub. There will also be a free standing cupboard in front of the wall as well.
So will that part of the wall need to be tiled to the ceiling?

Monday, February 13, 2012

Floor is done, and the walls begin


This is what the floor looks like after grouting. I'm not sure if the grout is supposed to dry the lighter grey or the darker grey. In any case, it will be sealed in two weeks.
Which do you like?


I've practiced sealing grout on the kitchen, so I now know what to do when I seal the floor.

I like how they echo the direction of the wood in the rest of the house. They are also being used as baseboards in the bathroom.


Now that the floor is done, the wall tiling is beginning.

 
 That rag in the wall is covering the showerhead, so dad doesn't bonk his head on it.

Dad's been in this room with the glue too long I think. (Mom and I went to a Tafelmusick in Toronto and took the day off.

you can see the grey tile as a baseboard behind the cardboard at the bottom of the wall.


I am making a face, as dad is taking a picture instead of looking at how we're going to deal with the wall/ceiling gap. I am a stickler for tiling details.

Also, i'm standing on a chair.

Yes my toque is on inside out. That is so the hat is not wrecked when dad drops tile glue on my head.

This happened twice. eeeew.


The back wall of the bathroom is now tiled floor to ceiling.

The light is waterproof and recessed.


The next wall.

Notice the way the staggering around the corner is done so that there is no "sliver" of tile and the pattern from the back wall is maintained.

Nice shot of the baseboards. 
The tiling will go up to the window, where a larger frame, and a wider sil is going in. What use is window ledge if it's too narrow to put a plant on it ?!?

Tuesday, February 7, 2012

bathroom floor is progressing

Bathroom floor update:

after the electrical inspector from ESA left, the radiant heat wires were covered with cement.
Here's what it looks like in the hallway.

Friday 5pm

It takes 24 hours to dry.


 Here it is 24 hours later, Sat. around 5pm.
Not dry.
 So a bright painting light was applied throughout Sat. night and throughout Sunday and Sunday night to use the heat to dry the floor.

Sunday's plan to begin tiling the bathroom floor was disbanded.


 But in the area that was mostly dry, we put down the testing strips for the pattern.

diagonal vs. length-wise.

It was determined that running it perpendicular to the hallway would make it seem narrow and the diagonal was too modern for the house (remember 1919) . also the length-wise layout matches the wood layout in the rest of the house.

Do you agree?


So what happened on Monday - the room had tiling lines places, and the cement dried. A new trowel was also purchased.


Tuesday the tiling finally began.


Monday, January 16, 2012

The Bathroom Demolition

The bathroom needed to be almost completely gutted. A crack team of bruisers was assembled :)

To prepare, the toilet was removed for safe keeping and the sink and vanity were removed and capped off.


i'm wearing double layers of everything. It's -10 out. brrr.

before we break out the safety glasses and dust masks. 

Peter is wisely avoiding the dust and carrying out shower wall bits.

Gerald is just a bit too gleeful. There is dust on my camera.


out come the heavy tools


smashy smashy!


the tub is coming out!

rub-a-dub-dub, three ladies in  a tub! 

hey! dad stole the camera!


the axe murderer from the basement has emerged


Two trailer loads, including one that was 800kg was removed.


once the walls were down, the floors needed to come out.

the floor was very stuck on 

sledge hammer and stone chizel. yes. the right tools make all the difference. 
The sledge hammer head was from my grandpa, my dad added the axe handle for a better grip, and I used it to take up the floor. Awwww family heirlooms.


holy cow! It's empty!

yup, floor is gone too!
10am-2:30pm and it was done!

Sunday, January 15, 2012

A video of tile removal

sometimes a chizel won't do it. or a hammer, or a crowbar, or a crowbar and hammer combo.

this "cold stone" chizel, plus my grandpa's sledge hammer, with dad's re-jigged axe handle on it, is the tool to use.

the tile needs to come out:
http://yfrog.com/7hwpkz

The kitchen reno begins.


dad installed new sink and faucet, I bought parts. 

the old sink: notice the weird broken pump.


the new sink: 


it's so much shinier and has a pull out sprayer thing. 
also, you can't see the new plumbing underneath. 
there are also proper shut off valves now installed. 
yay


tiled 3/4 of the kitchen with dad.


one side of the sink is tiled, the other is not. wheeee. 
It just keeps going and I learn to  cut tiles.

 Also you can see that I've removed 1/2 doors in the kitchen.