

Part 1: The quilt view from the top, the back is all zig zagged.
There is no binding applied yet.
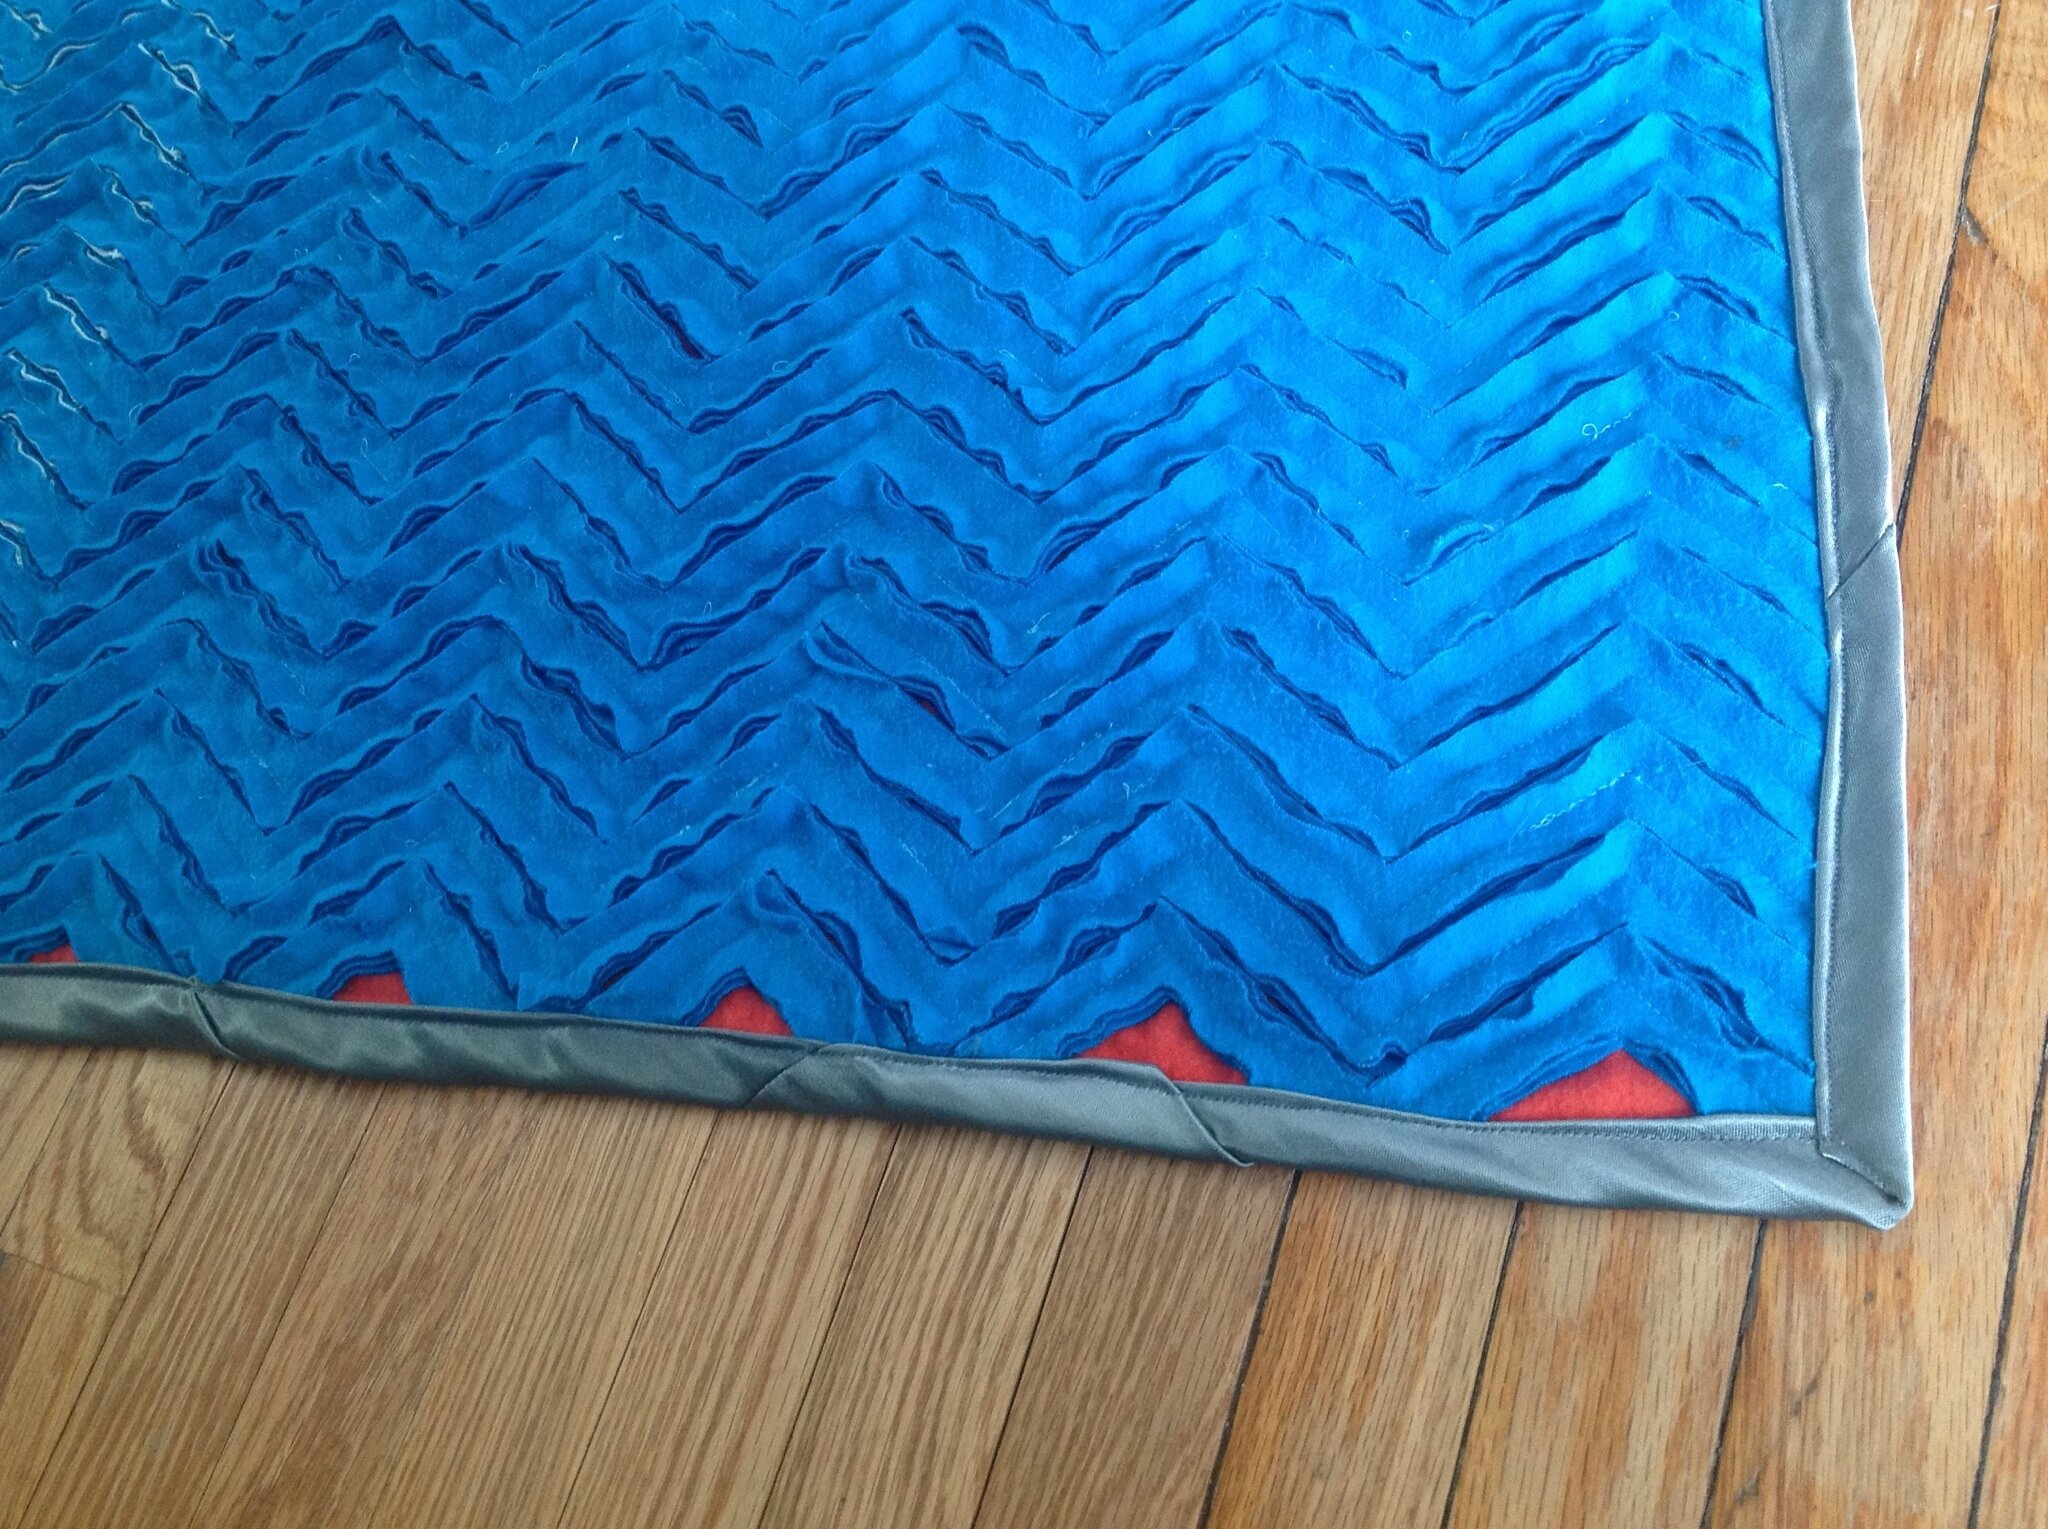
Next is the view of the back. It is all sewn down, and the cutting into chennille has started along the edges. Cutting the edges before binding made it easier to cut the rest of the quilt, but harder to apply the binding.

- Lesson 1: wear gloves when doing this to prevent blisters.
- Lesson 2: don't cut all of it in 24 hours, spread it out in smaller chunks across a week, then your thumb won't go numb.
- Lesson 3: sharpen your scissors
- Lesson 4: The centre section was 4 layers deep. That's really thick.
Hamish's quilt cut and ready for the double wash and dry:
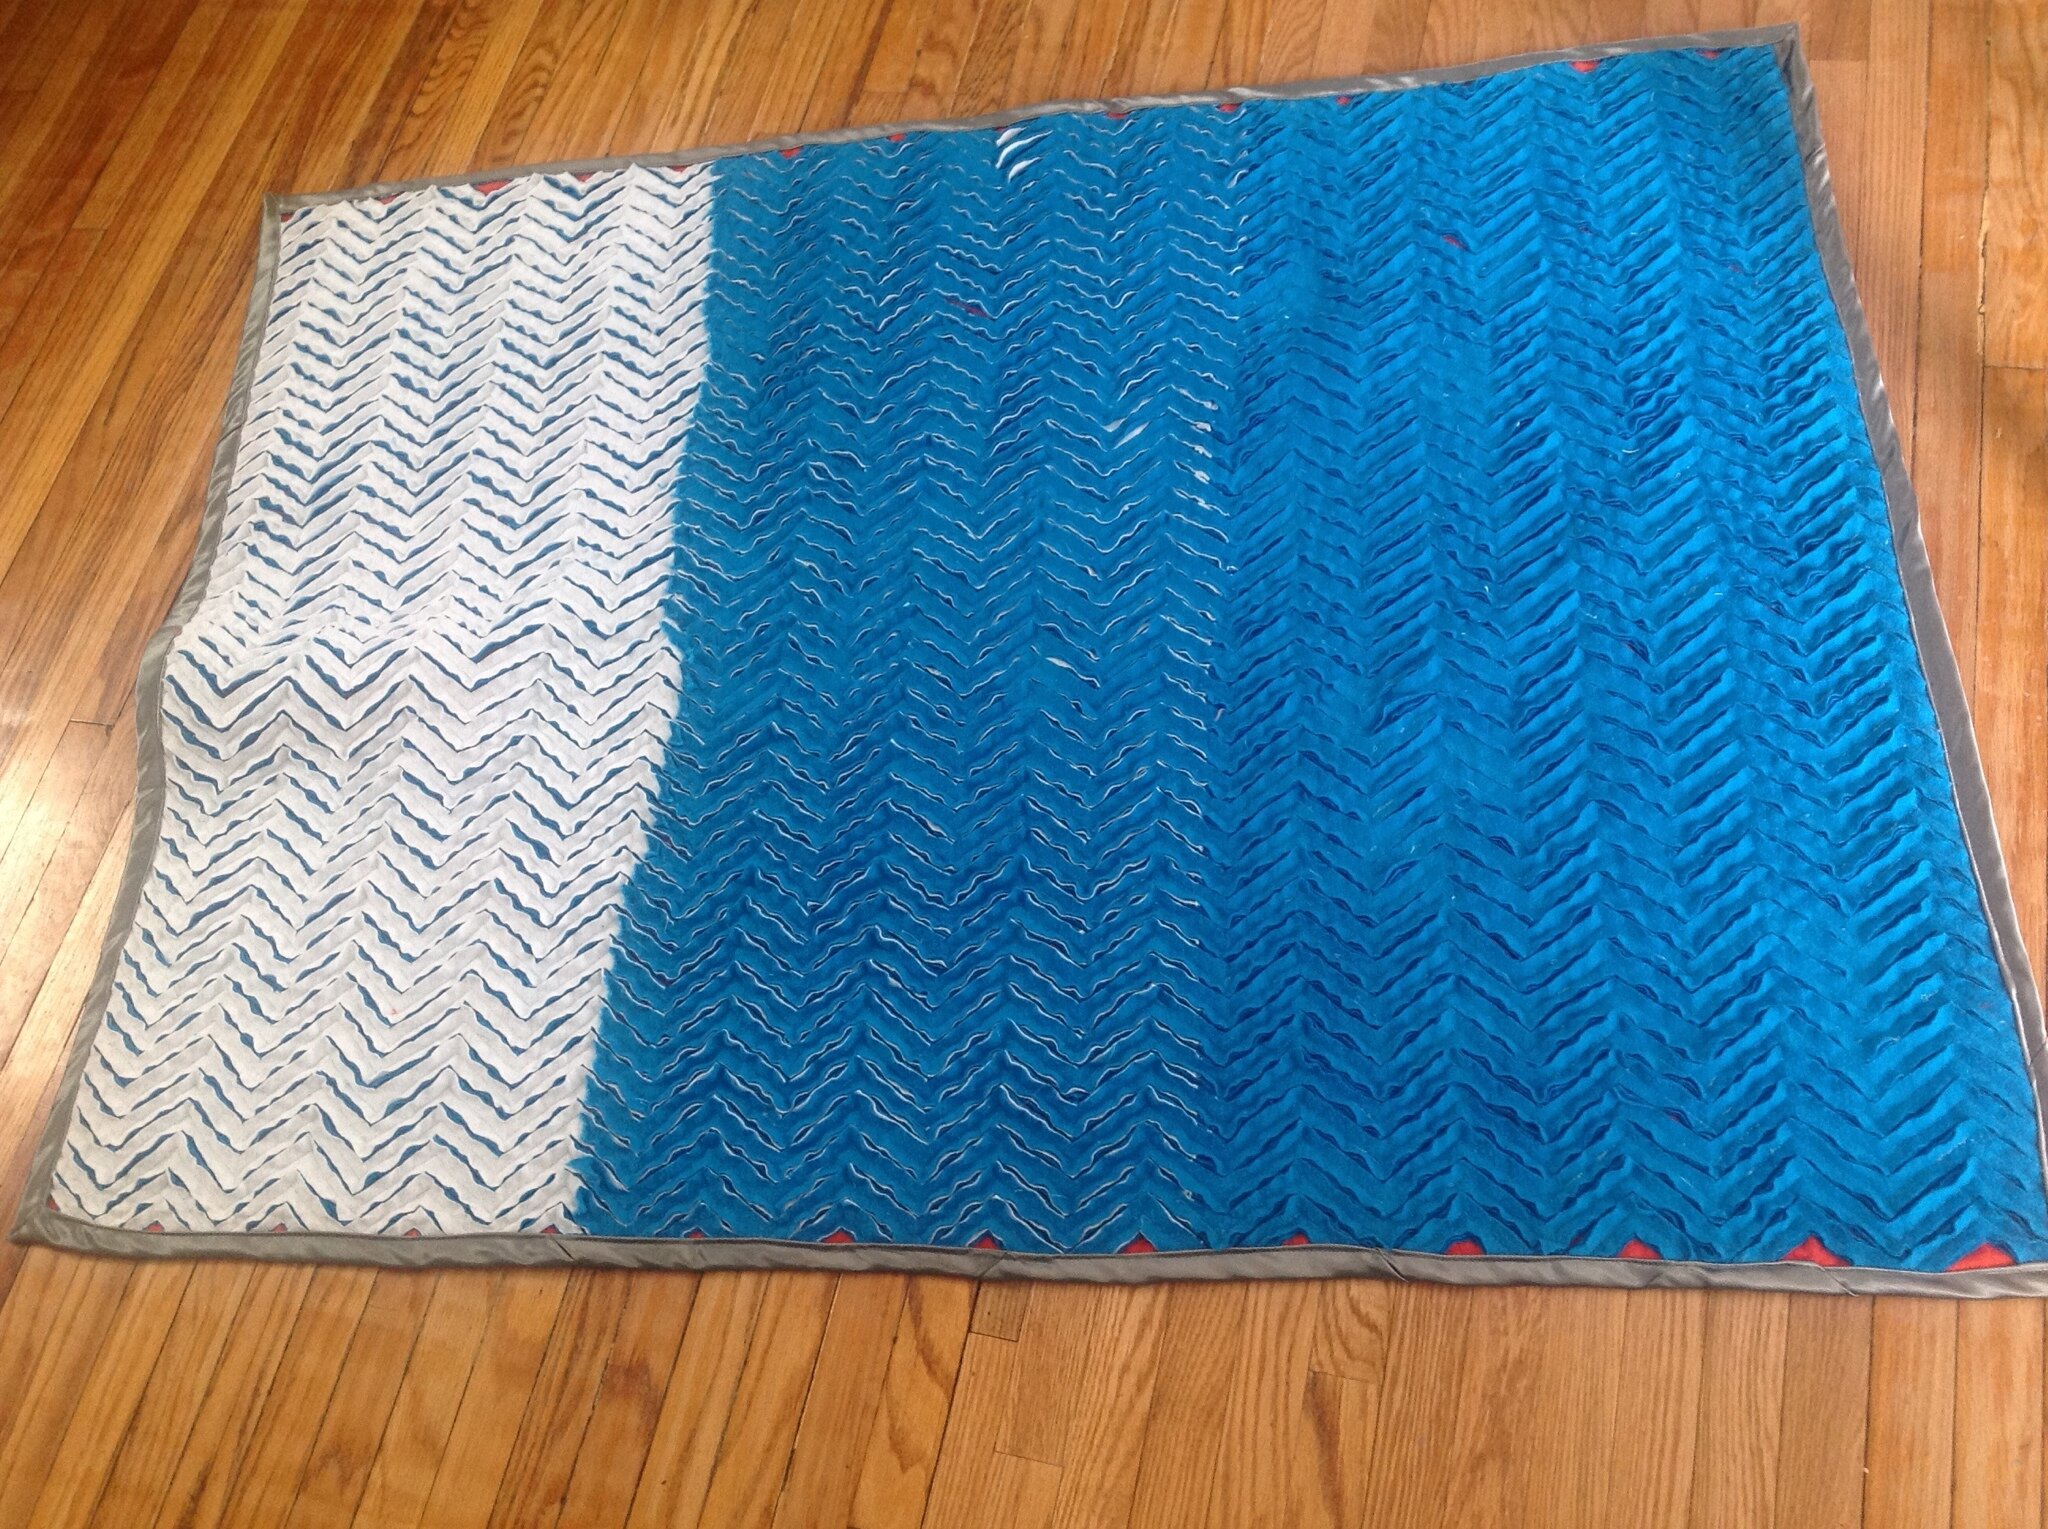
The orange triangles increase in size from left to right.
You can only see the overlap of colour layers in the middle a teeny bit.
here's a close up:
A close up of the front side appliques.
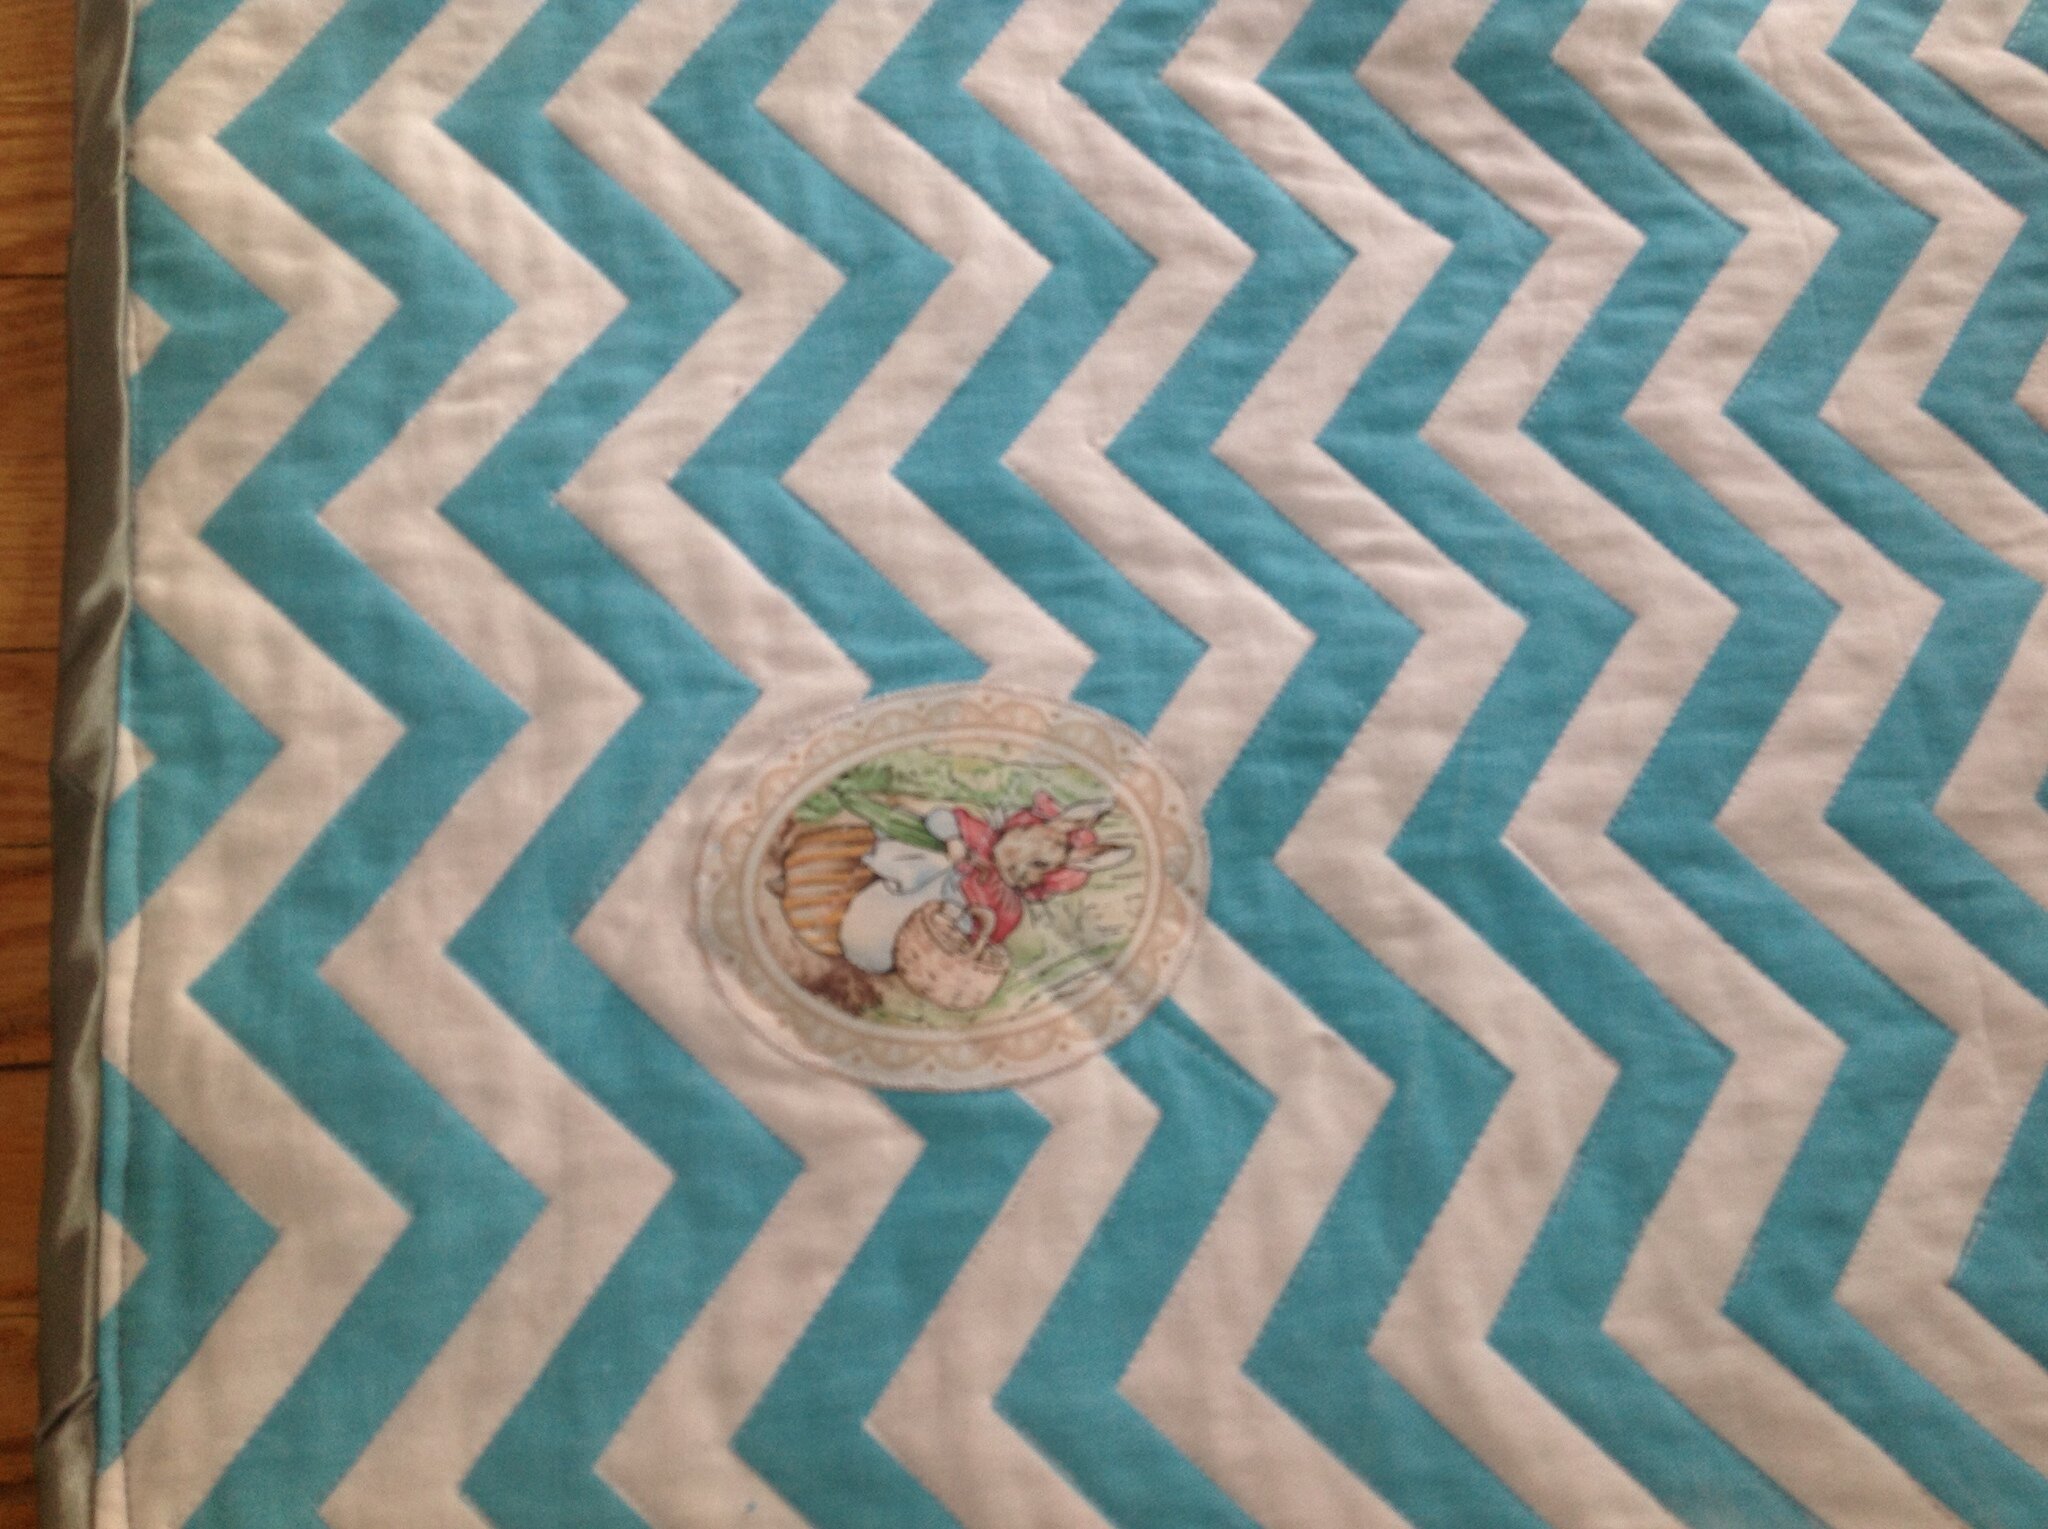
The orange fabric covers the stitch lines of attaching the appliques to the front fabric.
They are all beatrix potter designs, as Hamish's room is done in Beatrix Potter. I found them on ebay as iron-on appliques, which I reinforced the edges with a white zig zag stitch.
Gordon likes it:
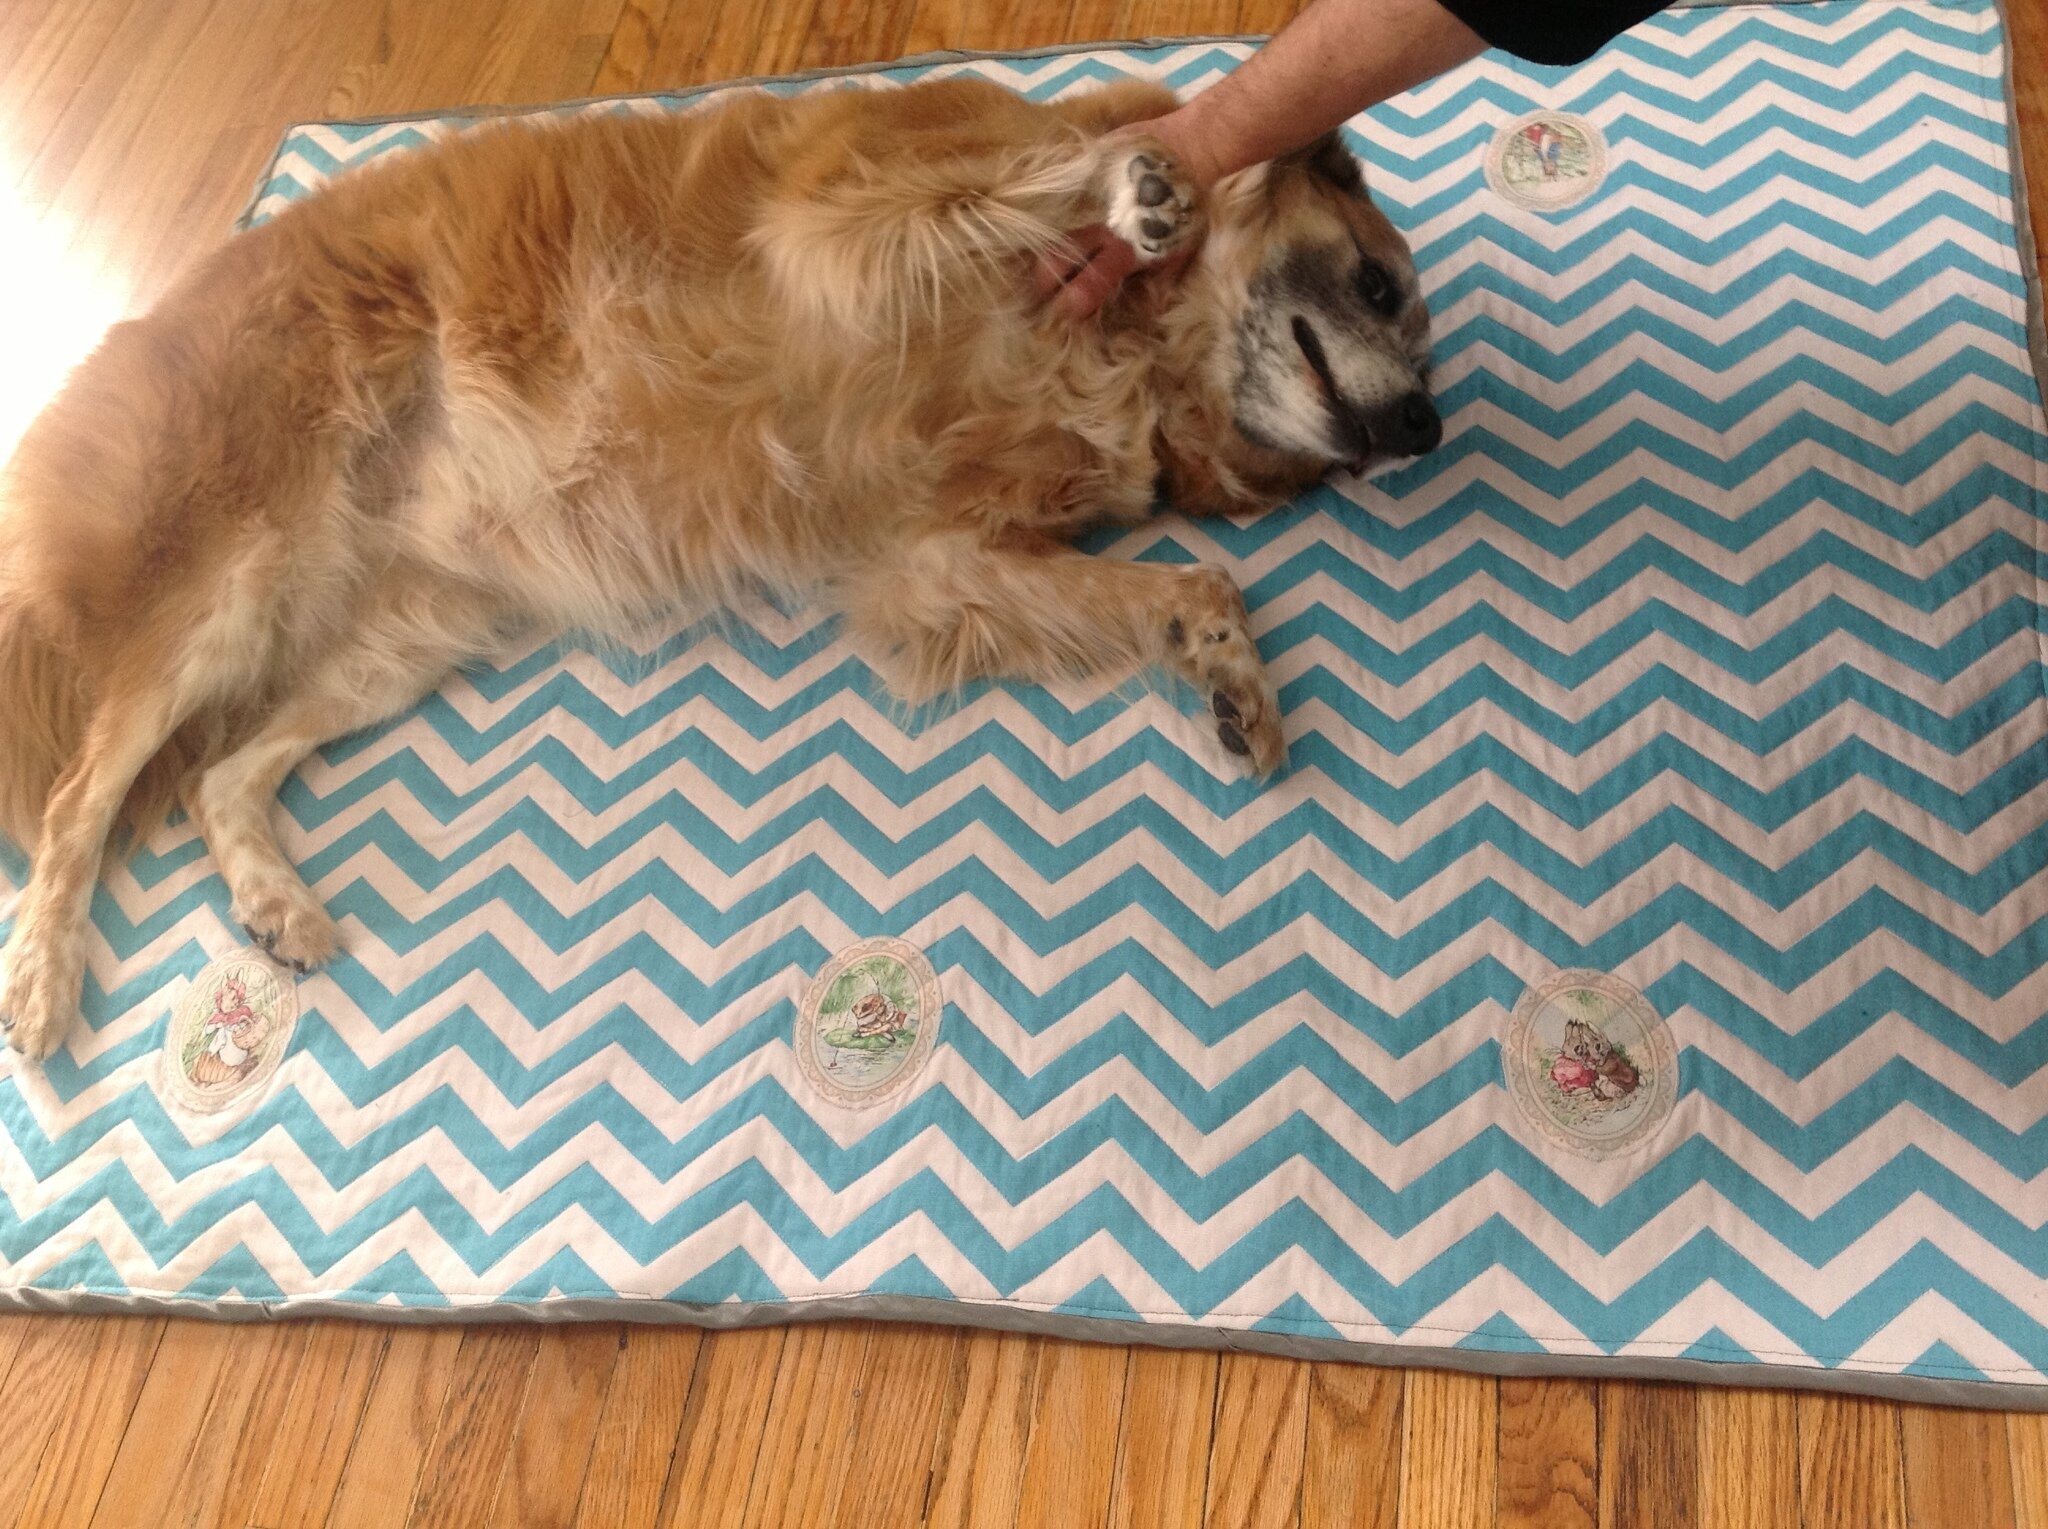
After washing and drying twice:
Picture to be uploaded soon...


