Tuesday, February 19, 2013

Chenille zig zag quilt for Hamish


Part 1: The quilt view from the top, the back is all zig zagged.
There is no binding applied yet.

Next is the view of the back. It is all sewn down, and the cutting into chennille has started along the edges. Cutting the edges before binding made it easier to cut the rest of the quilt, but harder to apply the binding. 

 Once the grey binding was applied, the next step involved cutting between all the stitching lines.

  • Lesson 1: wear gloves when doing this to prevent blisters. 
  • Lesson 2: don't cut all of it in 24 hours, spread it out in smaller chunks across a week, then your thumb won't go numb. 
  • Lesson 3: sharpen your scissors
  • Lesson 4: The centre section was 4 layers deep. That's really thick.

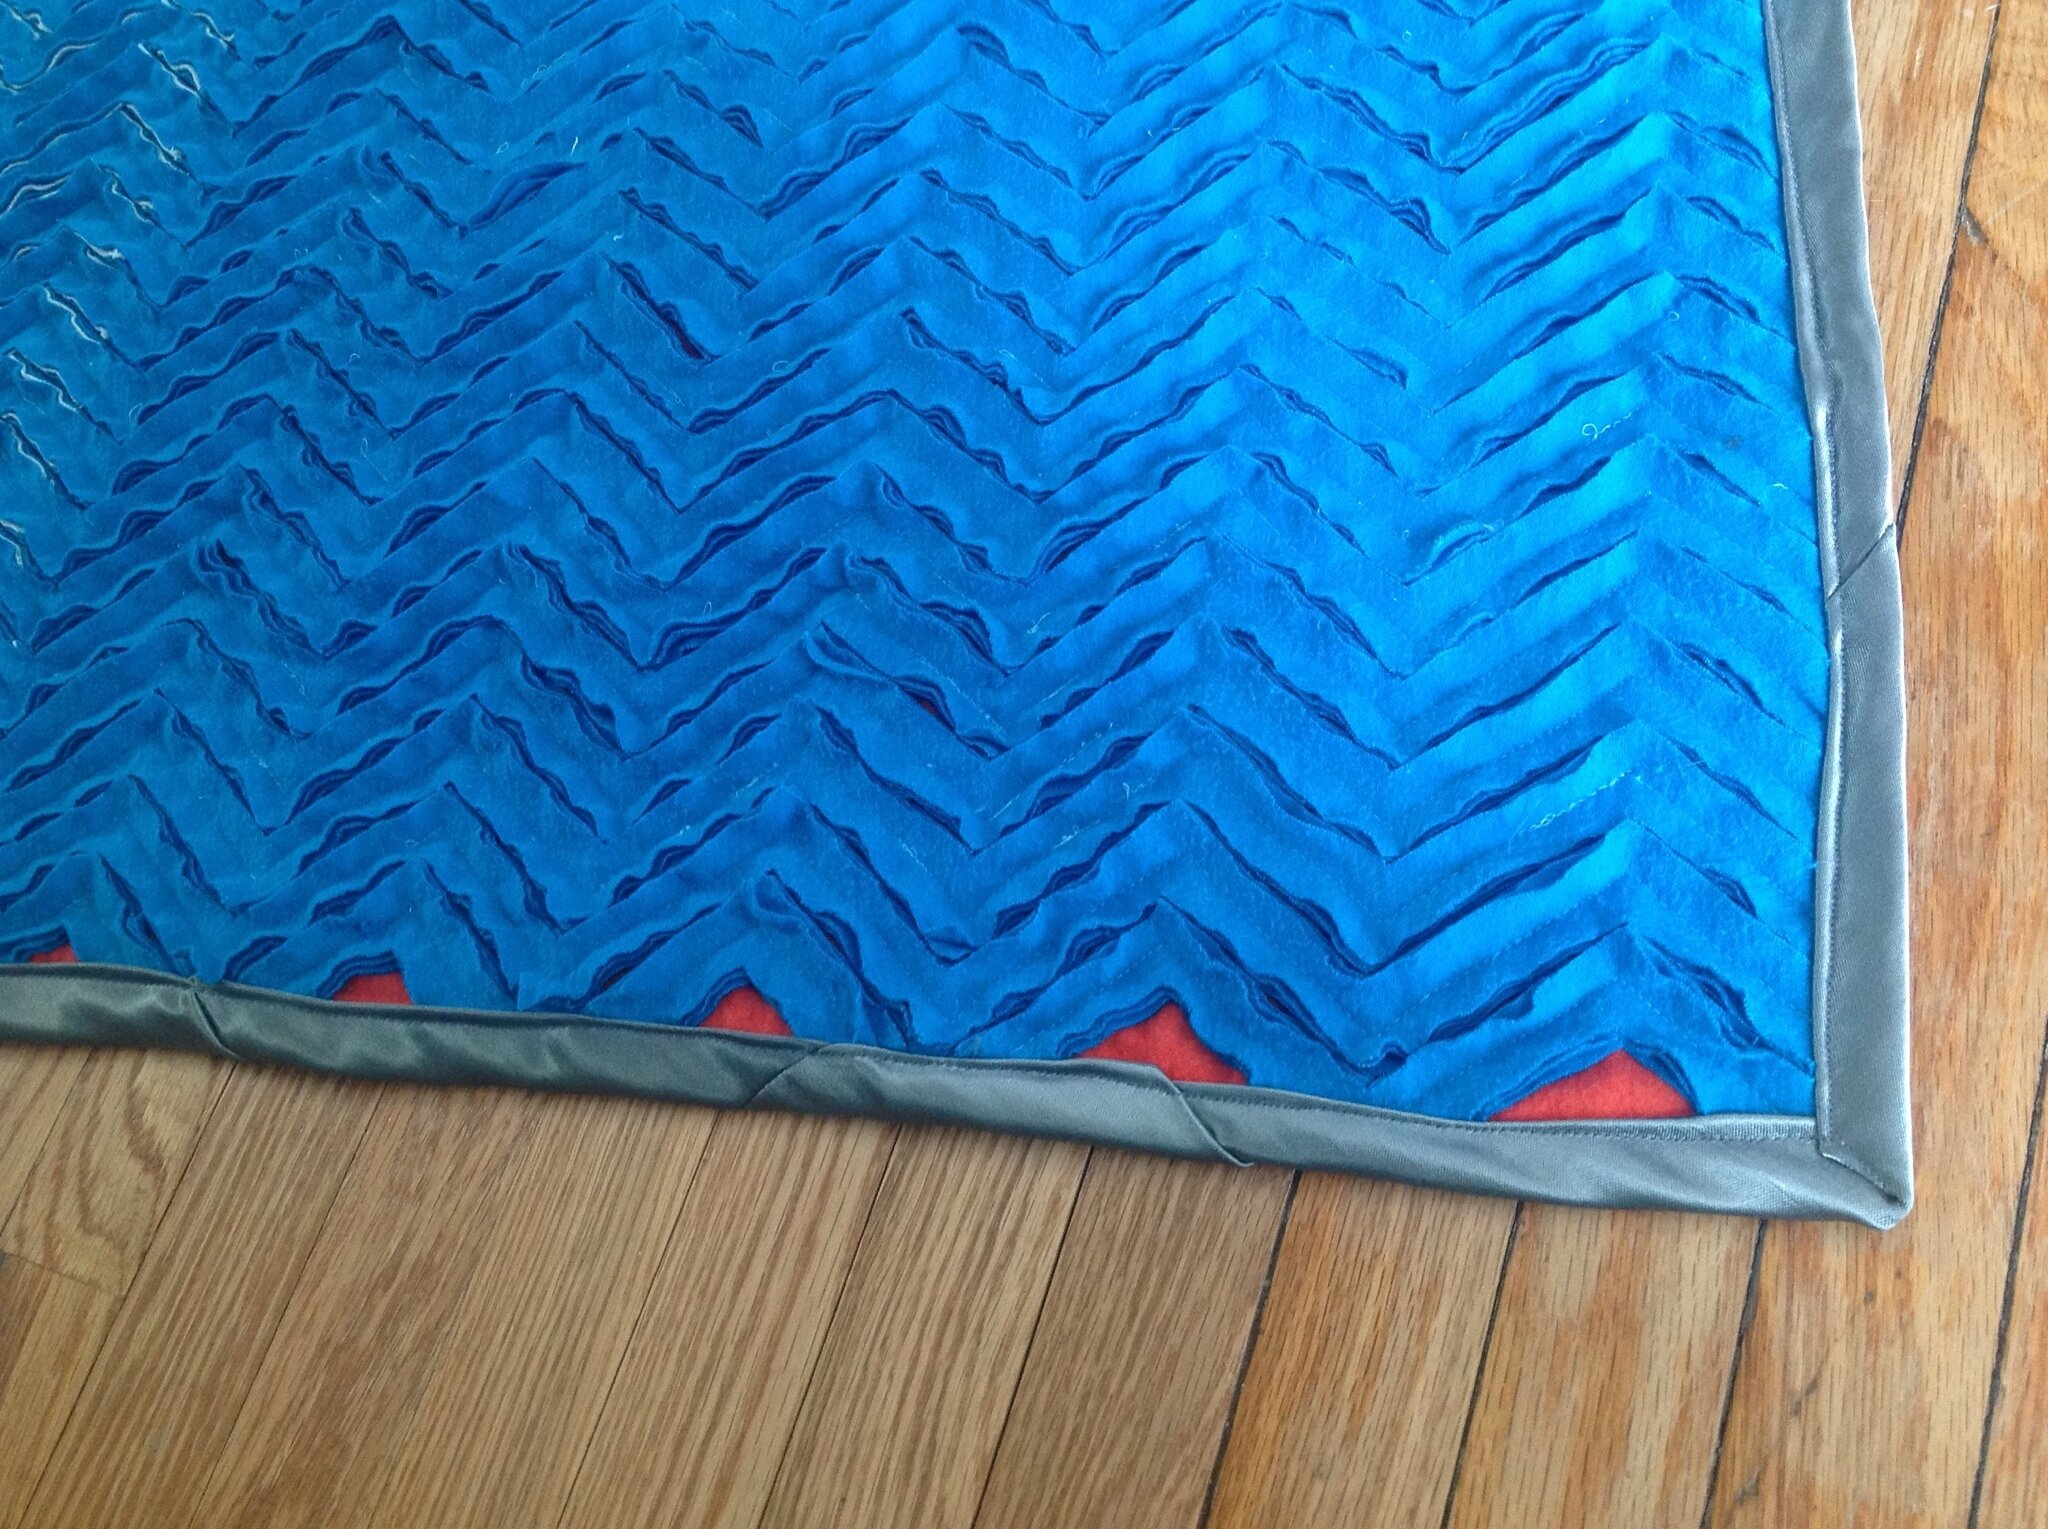
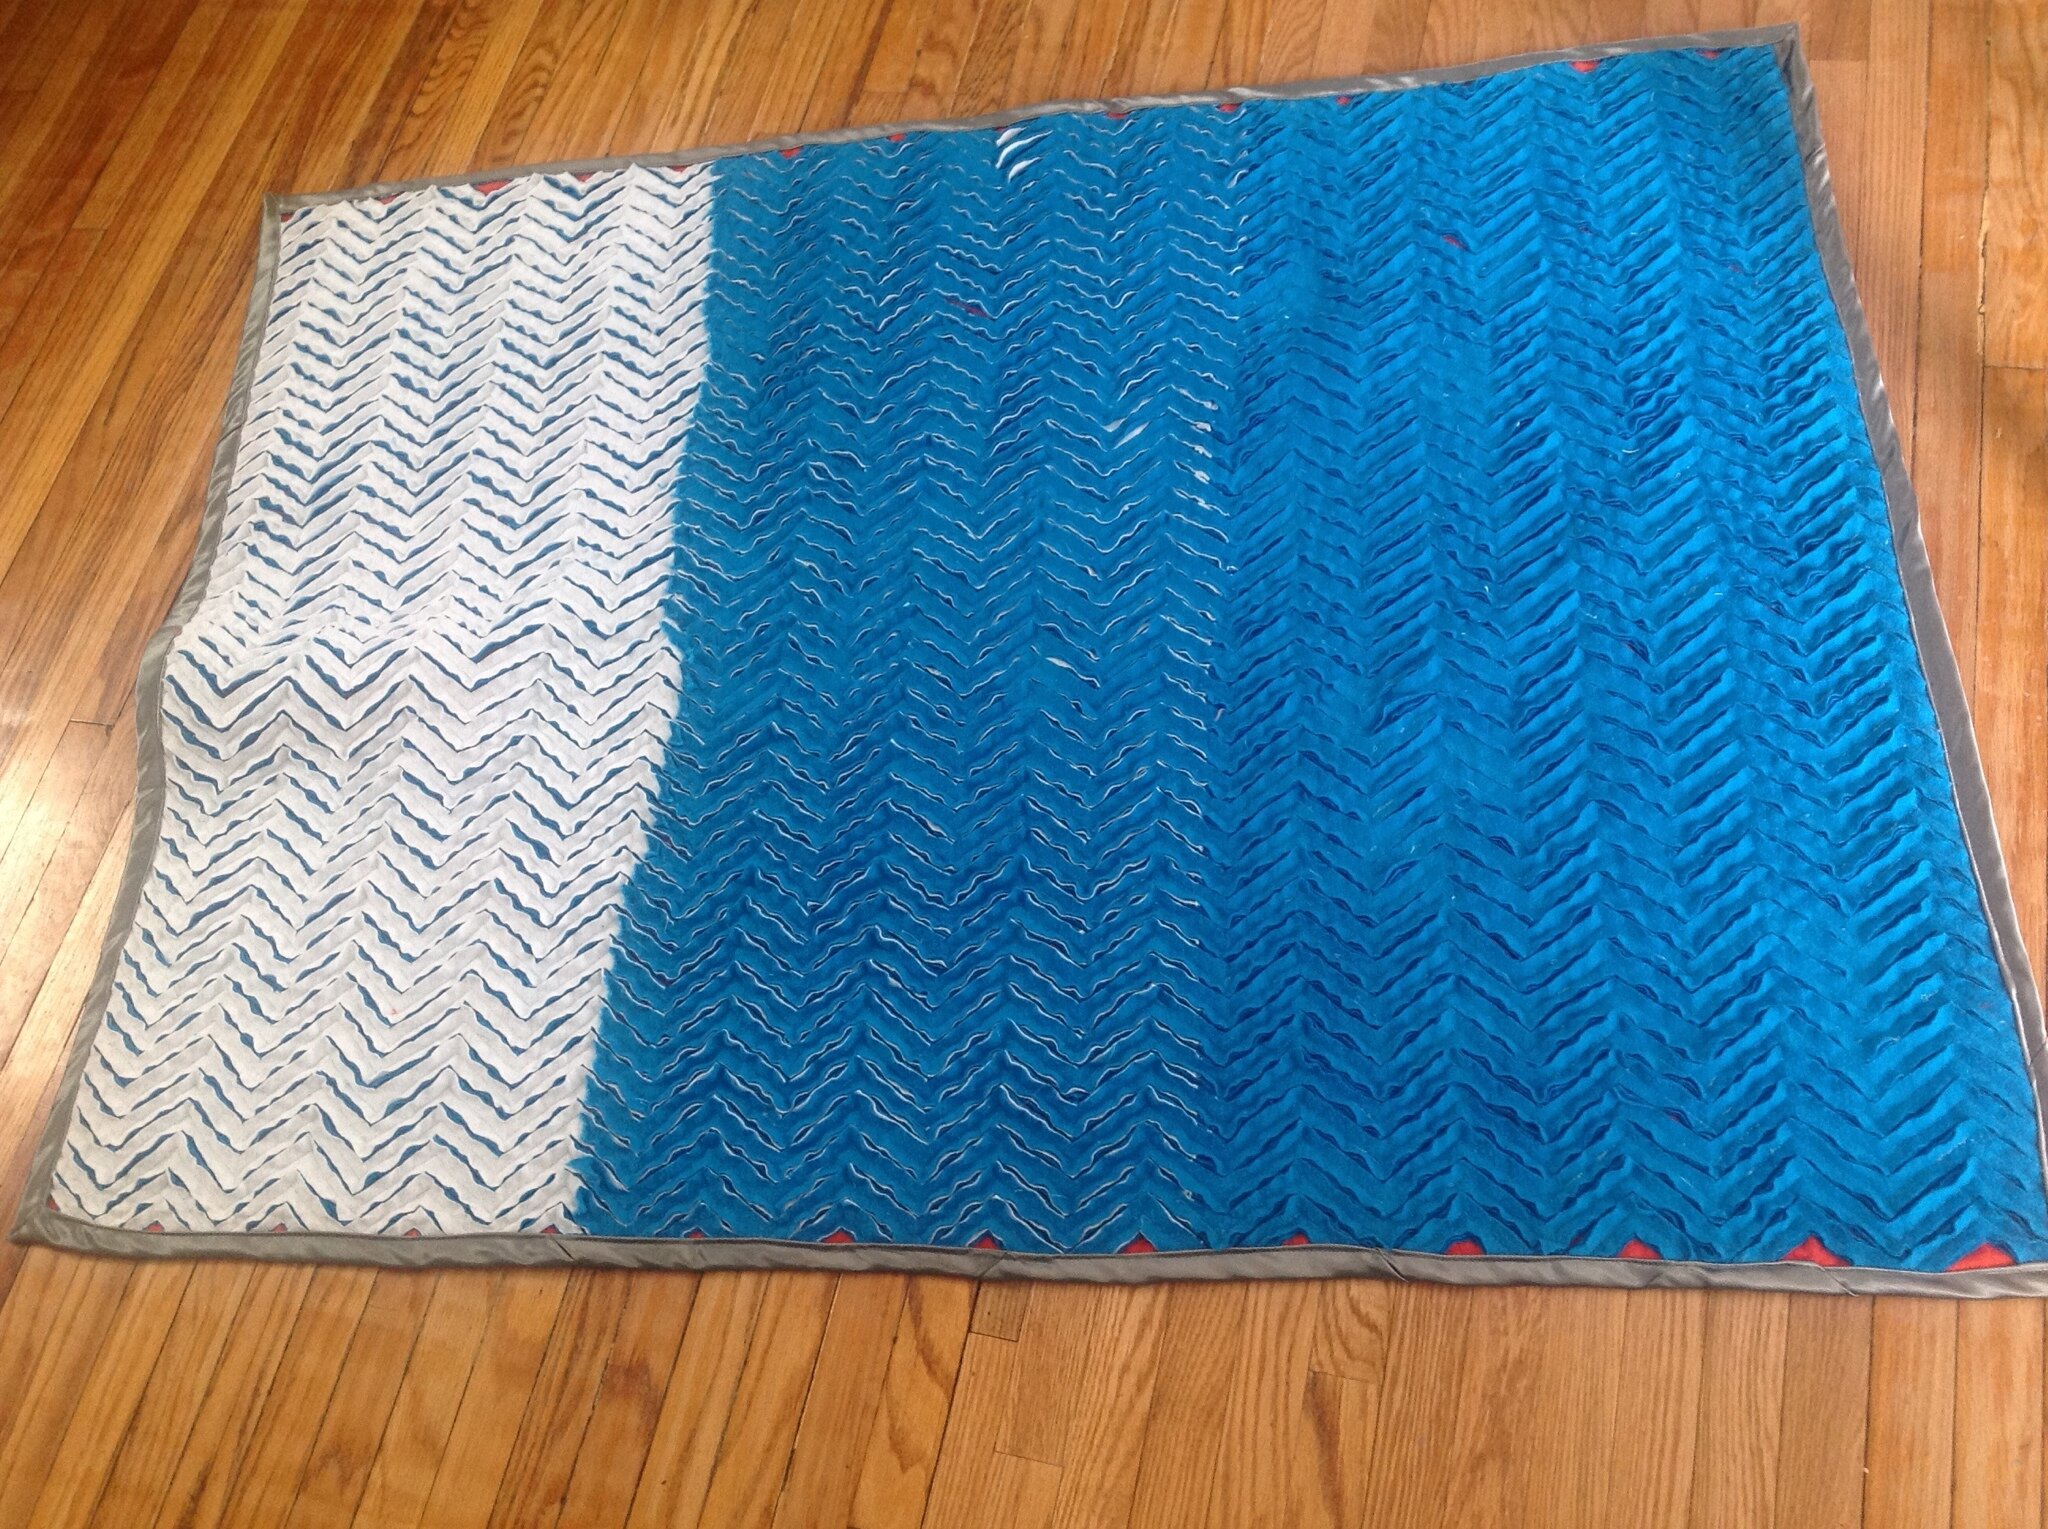
Hamish's quilt cut and ready for the double wash and dry:


The orange triangles increase in size from left to right.

You can only see the overlap of colour layers in the middle a teeny bit.


here's a close up:


A close up of the front side appliques.
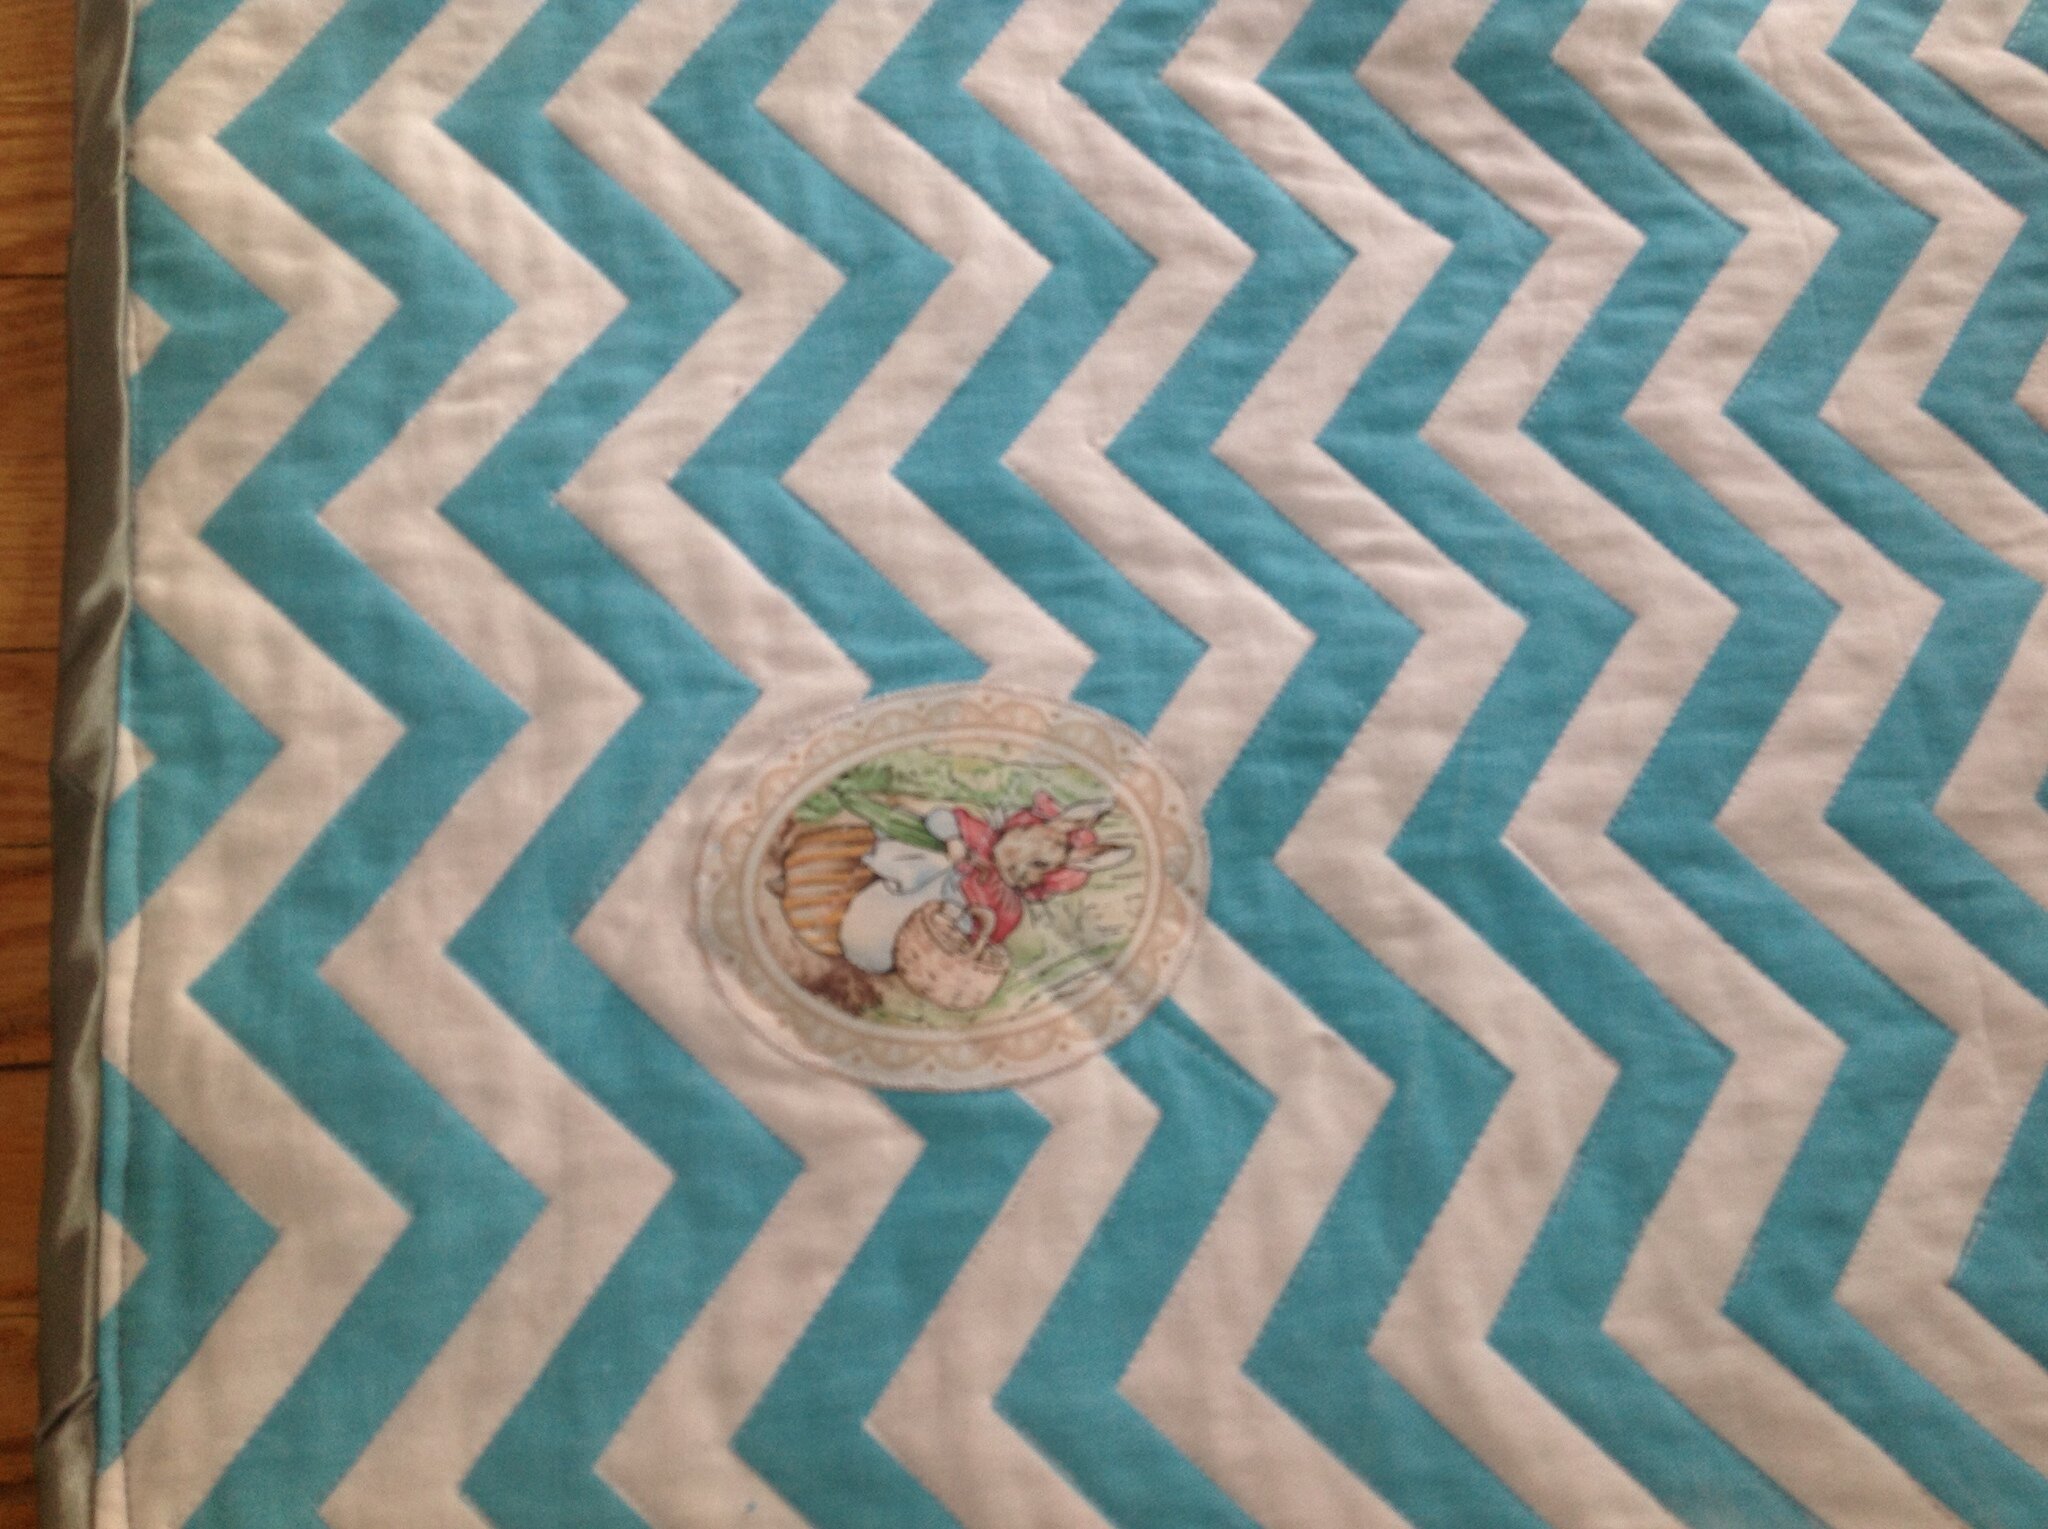
The orange fabric covers the  stitch lines of attaching the appliques to the front fabric.

They are all beatrix potter designs, as Hamish's room is done in Beatrix Potter. I found them on ebay as iron-on appliques, which I reinforced the edges with a white zig zag stitch.


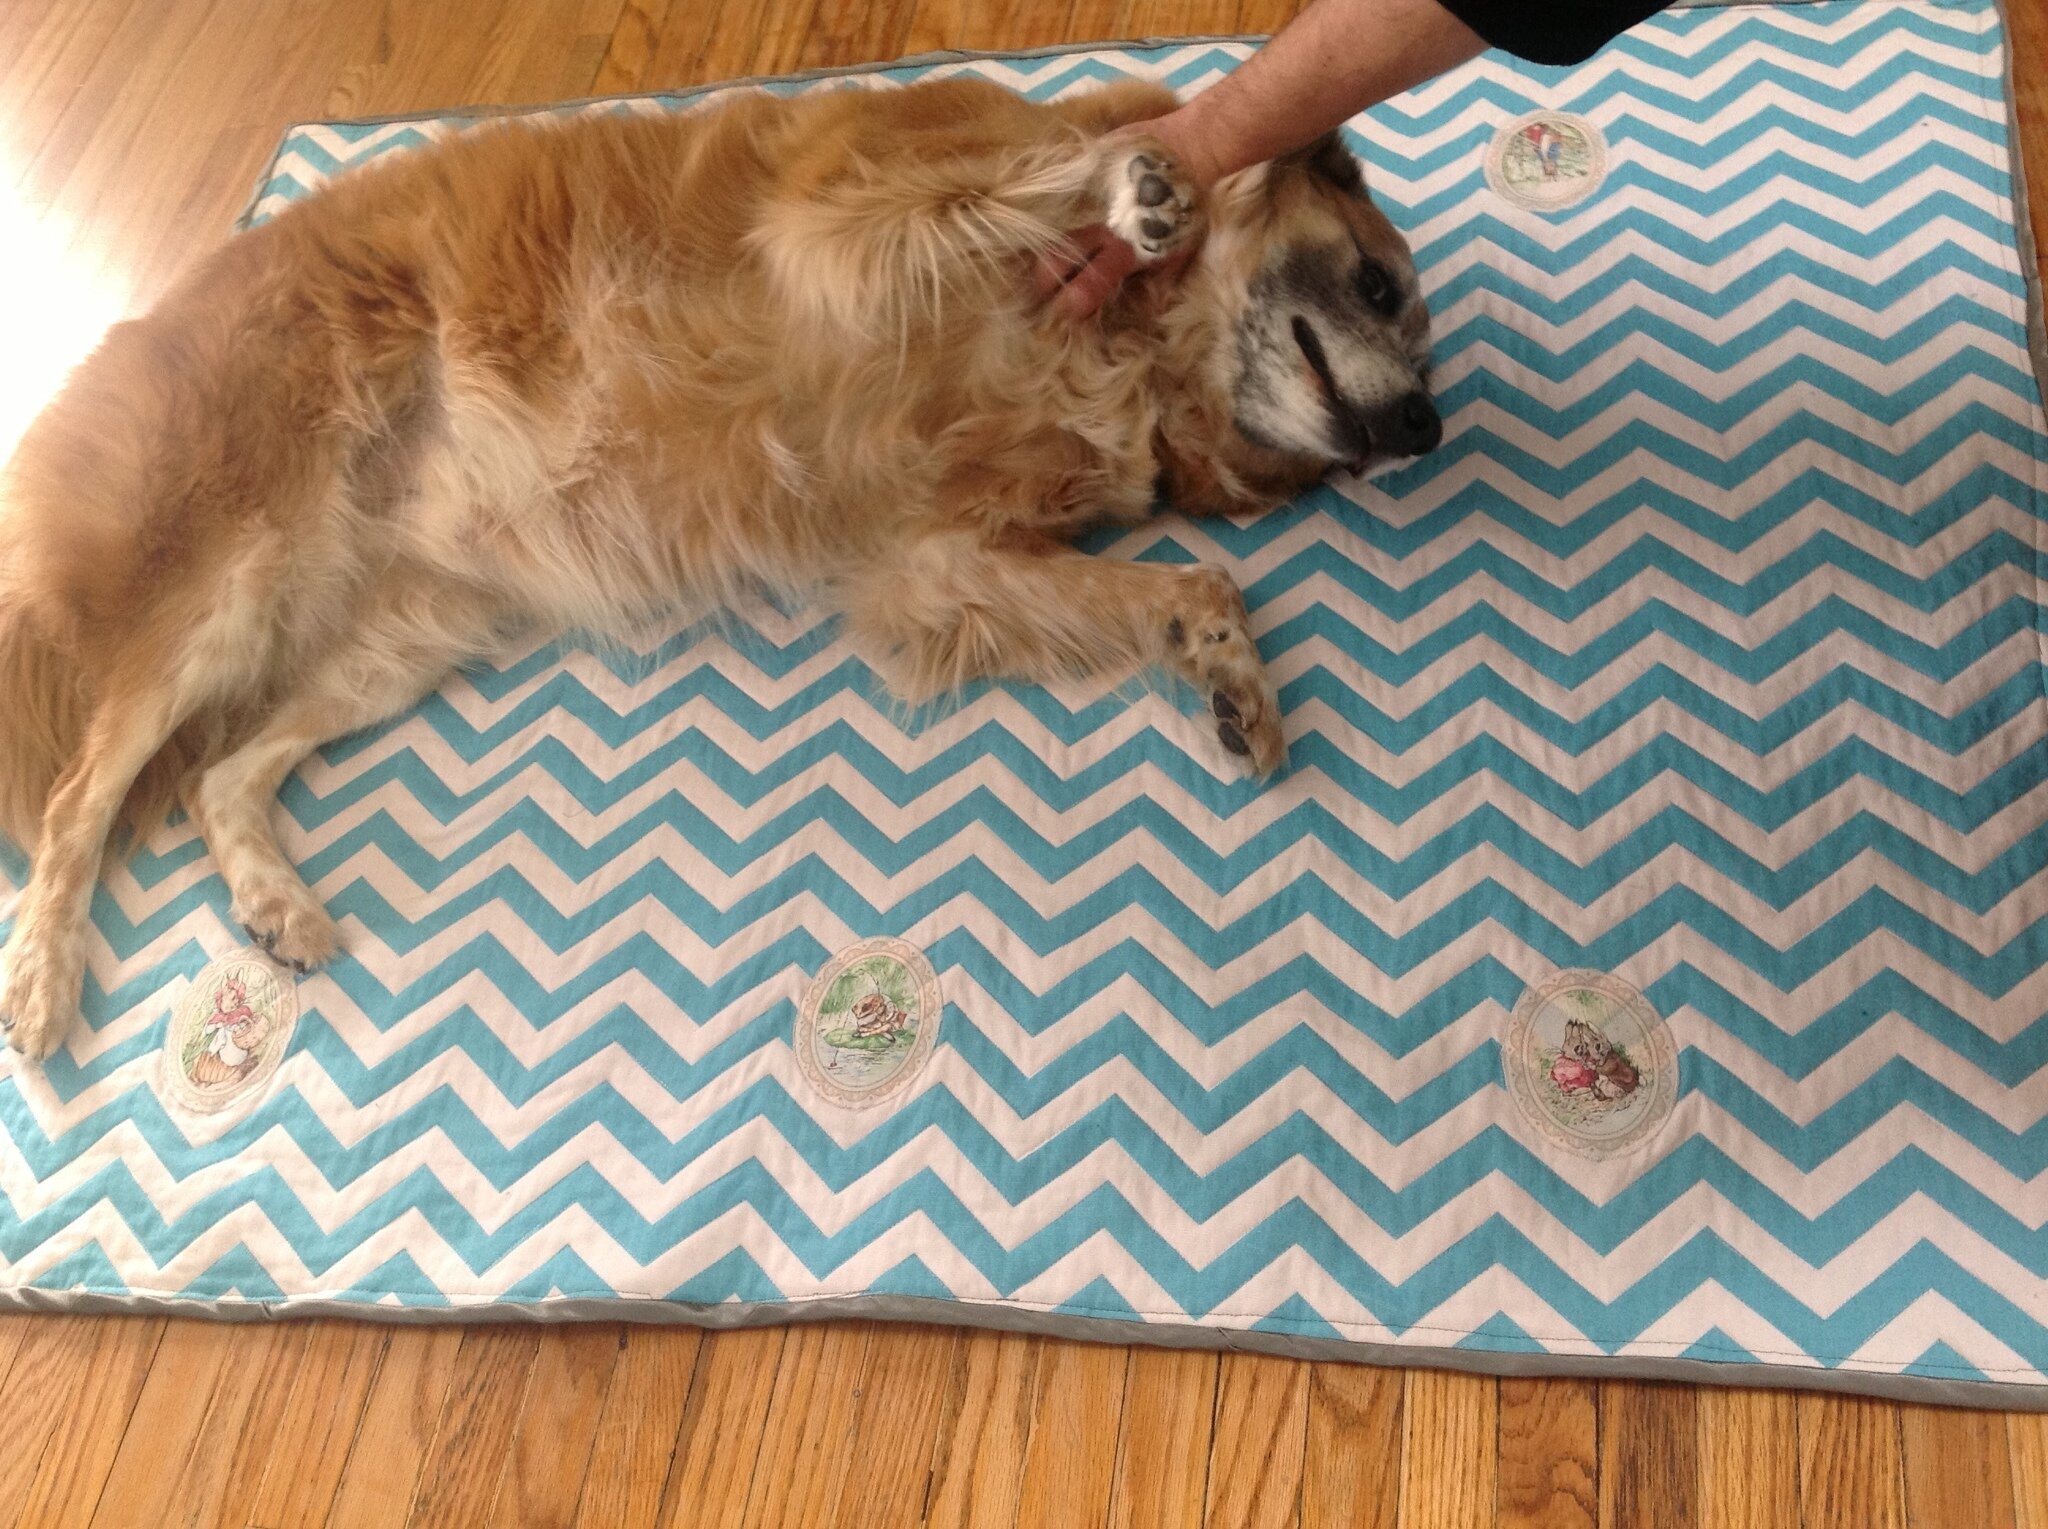
Gordon likes it:

After washing and drying twice:

Picture to be uploaded soon...
Saturday, January 12, 2013

Dryer Phase Complete

The Chenille is complete.

The dryer has frilled up the back and revealed the striped middle layer. It looks lovely. Shawna has done an incredible job.


This project is based on the original by Aesthetic Nest: http://www.aestheticnest.com/2011/11/sewing-chevron-chenille-blanket.html

Baby Quilt Complete

Shawna has finished a soft and cozy blanket for my niece Katelyn. It is chenille, and is the result of some fantastic and long work.

These are the before pictures. We will post the awesome soft and fuzziness after the wash and dry.


Sunday, October 21, 2012

Mom and Dad's moving crew

The moving crew that moved my parents out of their home and into a nomad life.
this post was taken at Drumbo pub.

Monday, July 23, 2012

My new office.
before and almost after. 

Things done:
- foam wall paper border removed
- carpet and underlay removed, staples and nails removed
- walls painted, trim painted
- furniture removed
- blinds removed


Still needs:
- another coat of paint on the window sill
- base board quarter round trim
- new light fixture.
- ceiling painted
- patio door replaced
- frost window and install blackout shade

Details:
walls: Benjamin Moore Aura paint simply white in semi-glass (for durability). The expensive paint and glossiness covered deep burgundy in two coats!

trim: Benjamin Moore simple white in gloss

floor: refinished original wood, with minwax oil based (smelly) stain, 4 coats

Monday, July 2, 2012

jam making update

jam updates"

before we went to italy, I made rhubarb ginger jam with some leftovers from ginger beer making and a donation of rhubarb.

It was good, but very very ginergy. oops.


last week I made Strawberry hot pepper jam, it was eh. not especially hot, but just deeper in flavour.


And strawberry lavender jam, from here.

using lavender from my Guelph garden.
loved it. loved it. loved it.


Painting on Wellington St

Andrew's painting in the 3rd bedroom, the former blood red nursery,  that will become my office.

We're transforming it from "blood red baby dungeon",
into "fresh clean sewing room/office".

 I tested the following three Benjamin Moore colours:
- oxford white, which was too blue
- cloud white, which was too creamy
- simply white, which was a goldilocks colour
i.e. not too blue, not too yellow, juuust right


So far we've:
1. removed foam "a,b,c," wallpaper border
2. scraped glue off wall
 3. tsp'd and rinsed the walls
 4. painted one coat of Benjamin Moore Aura "Simply White" over the red.
The sales lady assured me that two coats, no primer, would cover red, so I'm anxious to see.
one coat


Now I'm waiting for paint to dry, but it's hot out here & its quick dry paint, so in about another 1.5 hour it should be good to go. :)


Update 1 hour later: coat two has gone on.

Update 3 hours later: two is enough. time to rest, painting trim tomorrow!